Setting up your Account
Open Your Busha Business Account
Let’s begin by creating your dedicated business account.You will have successfully initiated the creation of your Busha Business Account and will be directed to your new business dashboard.
- From an Existing Busha Personal Account
- Create a New Business Account
- Log in to your Busha personal account.
- Locate the Avatar dropdown menu at the top right corner of your dashboard.
-
Select Open a business account from the menu. Follow the prompts to initiate your business account creation.
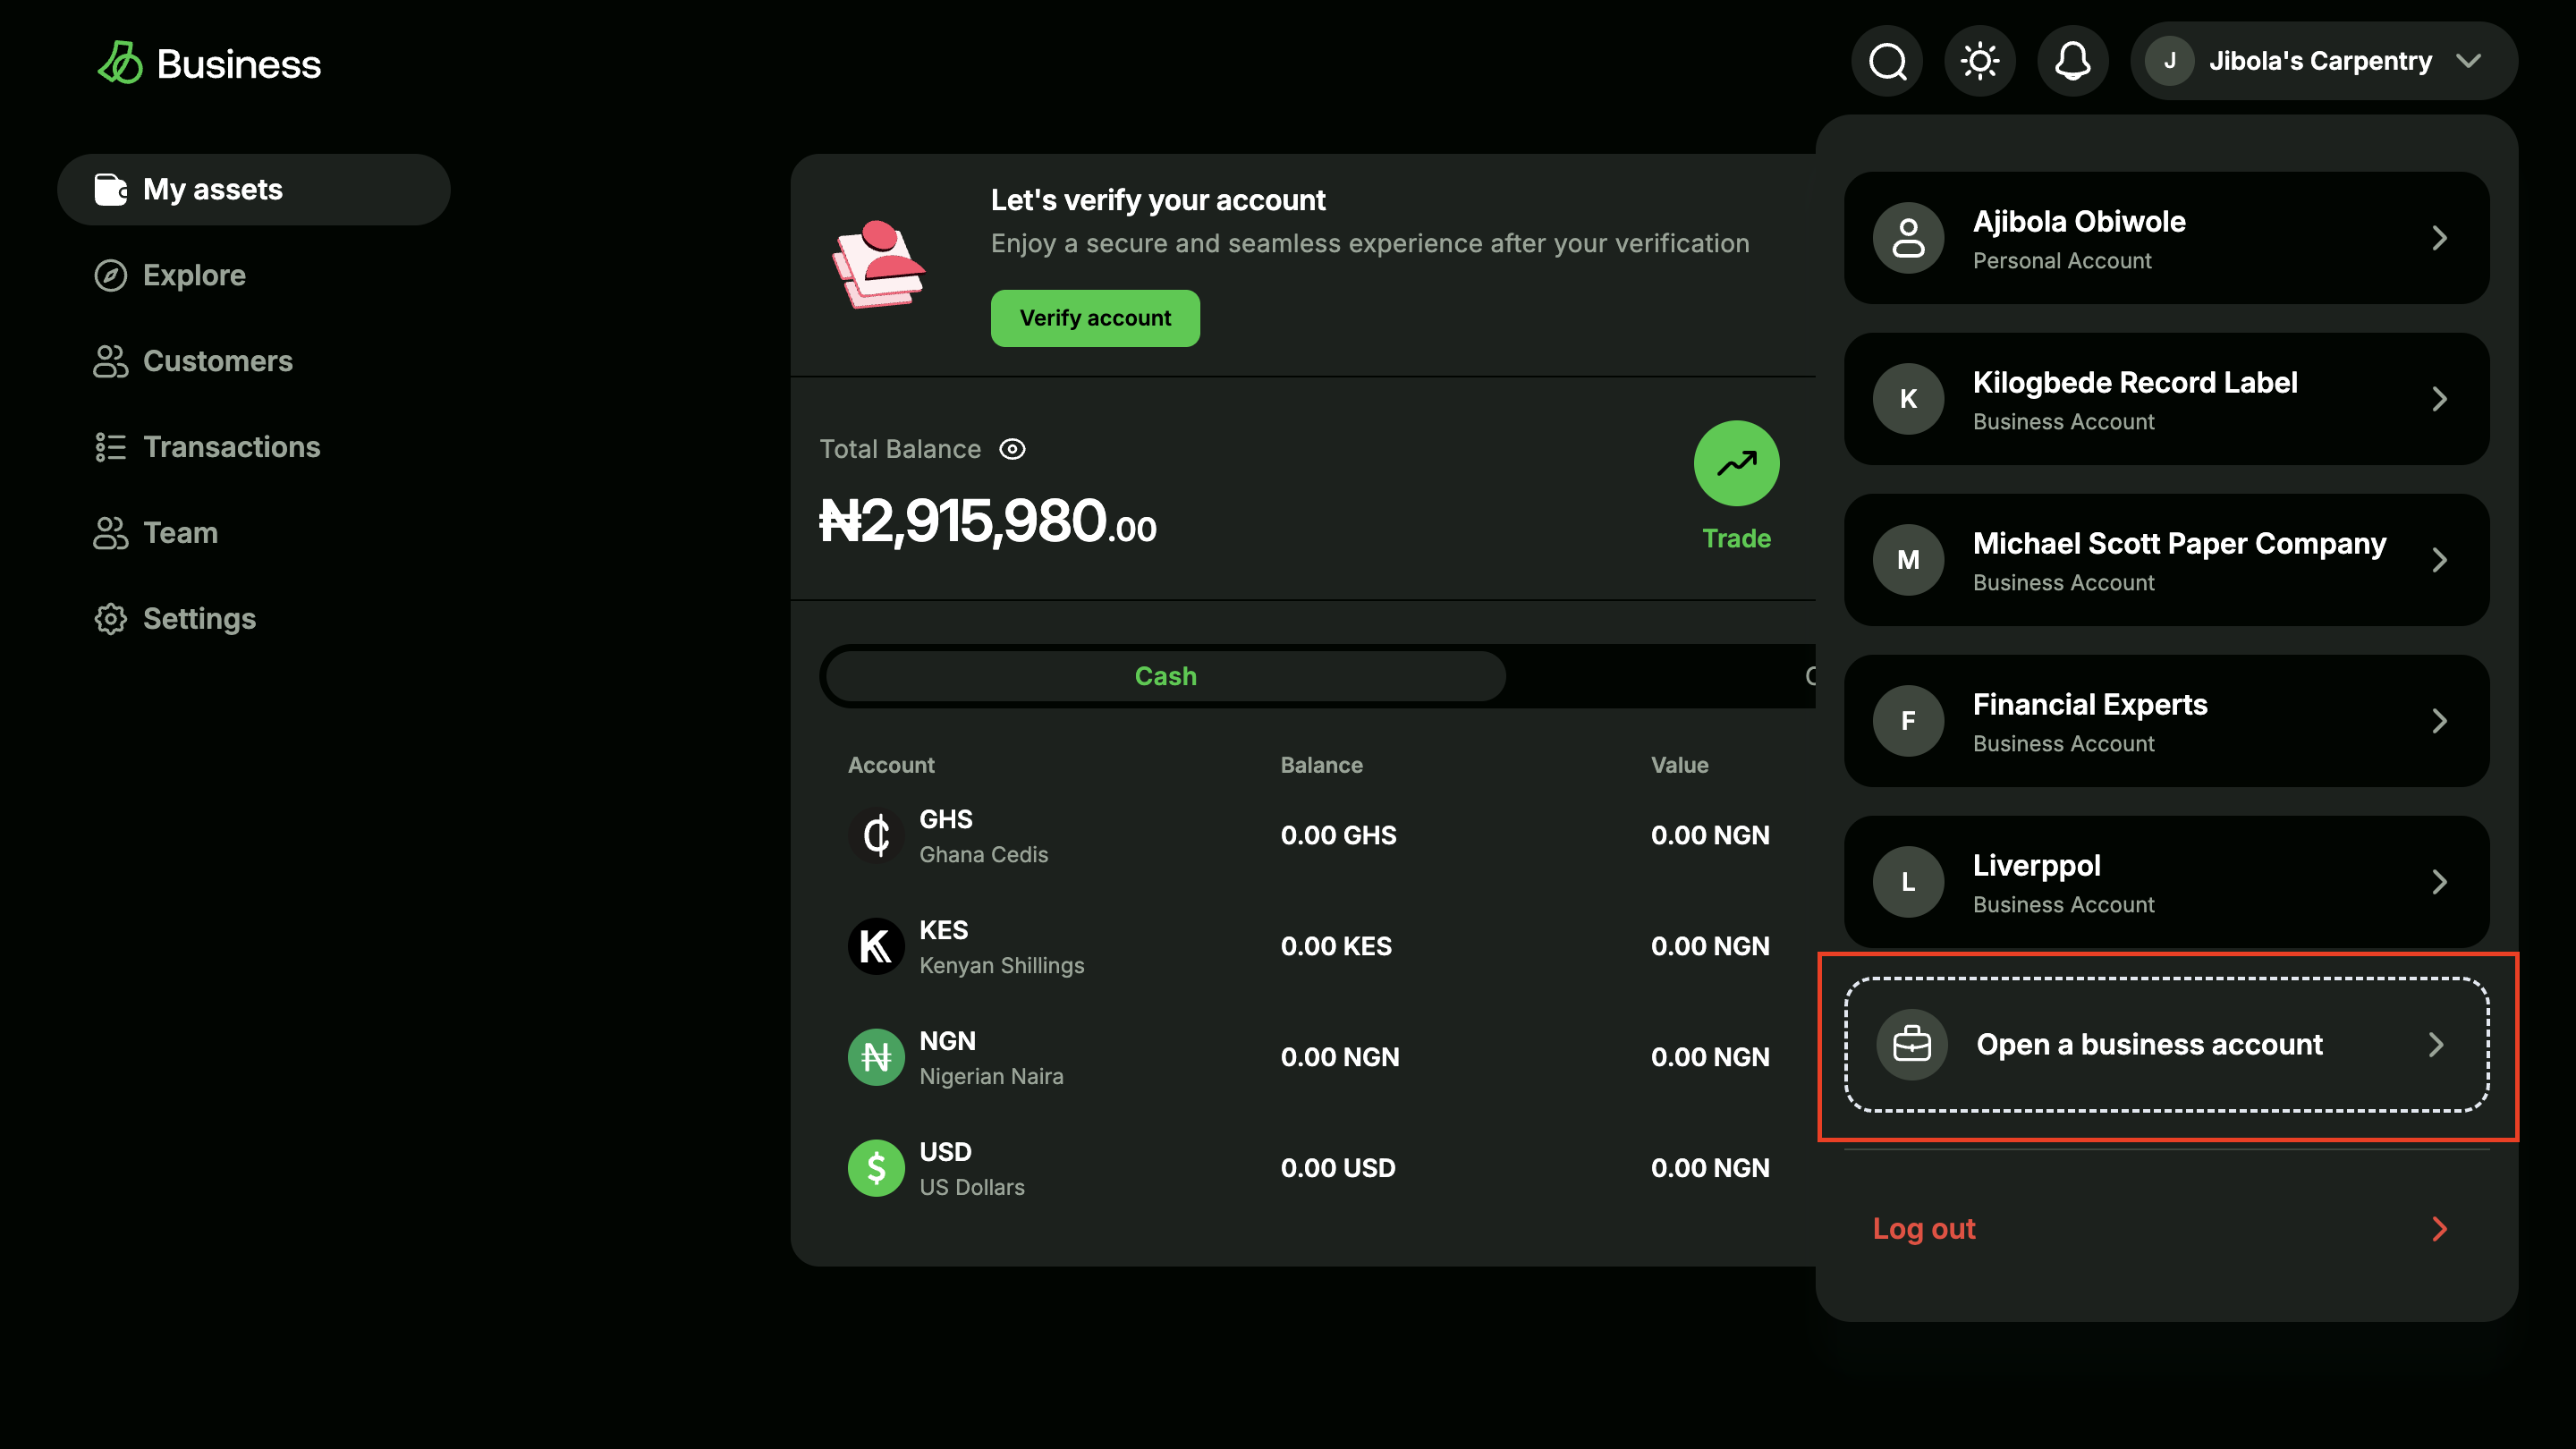
User dashboard with Open a business account highlighted in the avatar dropdown menu
Complete Business Verification (KYB)
To unlock all of Busha’s features and activate your account, you need to complete the Know Your Business (KYB) process.
-
On your Busha Business dashboard, click on the “Verify Now” button.
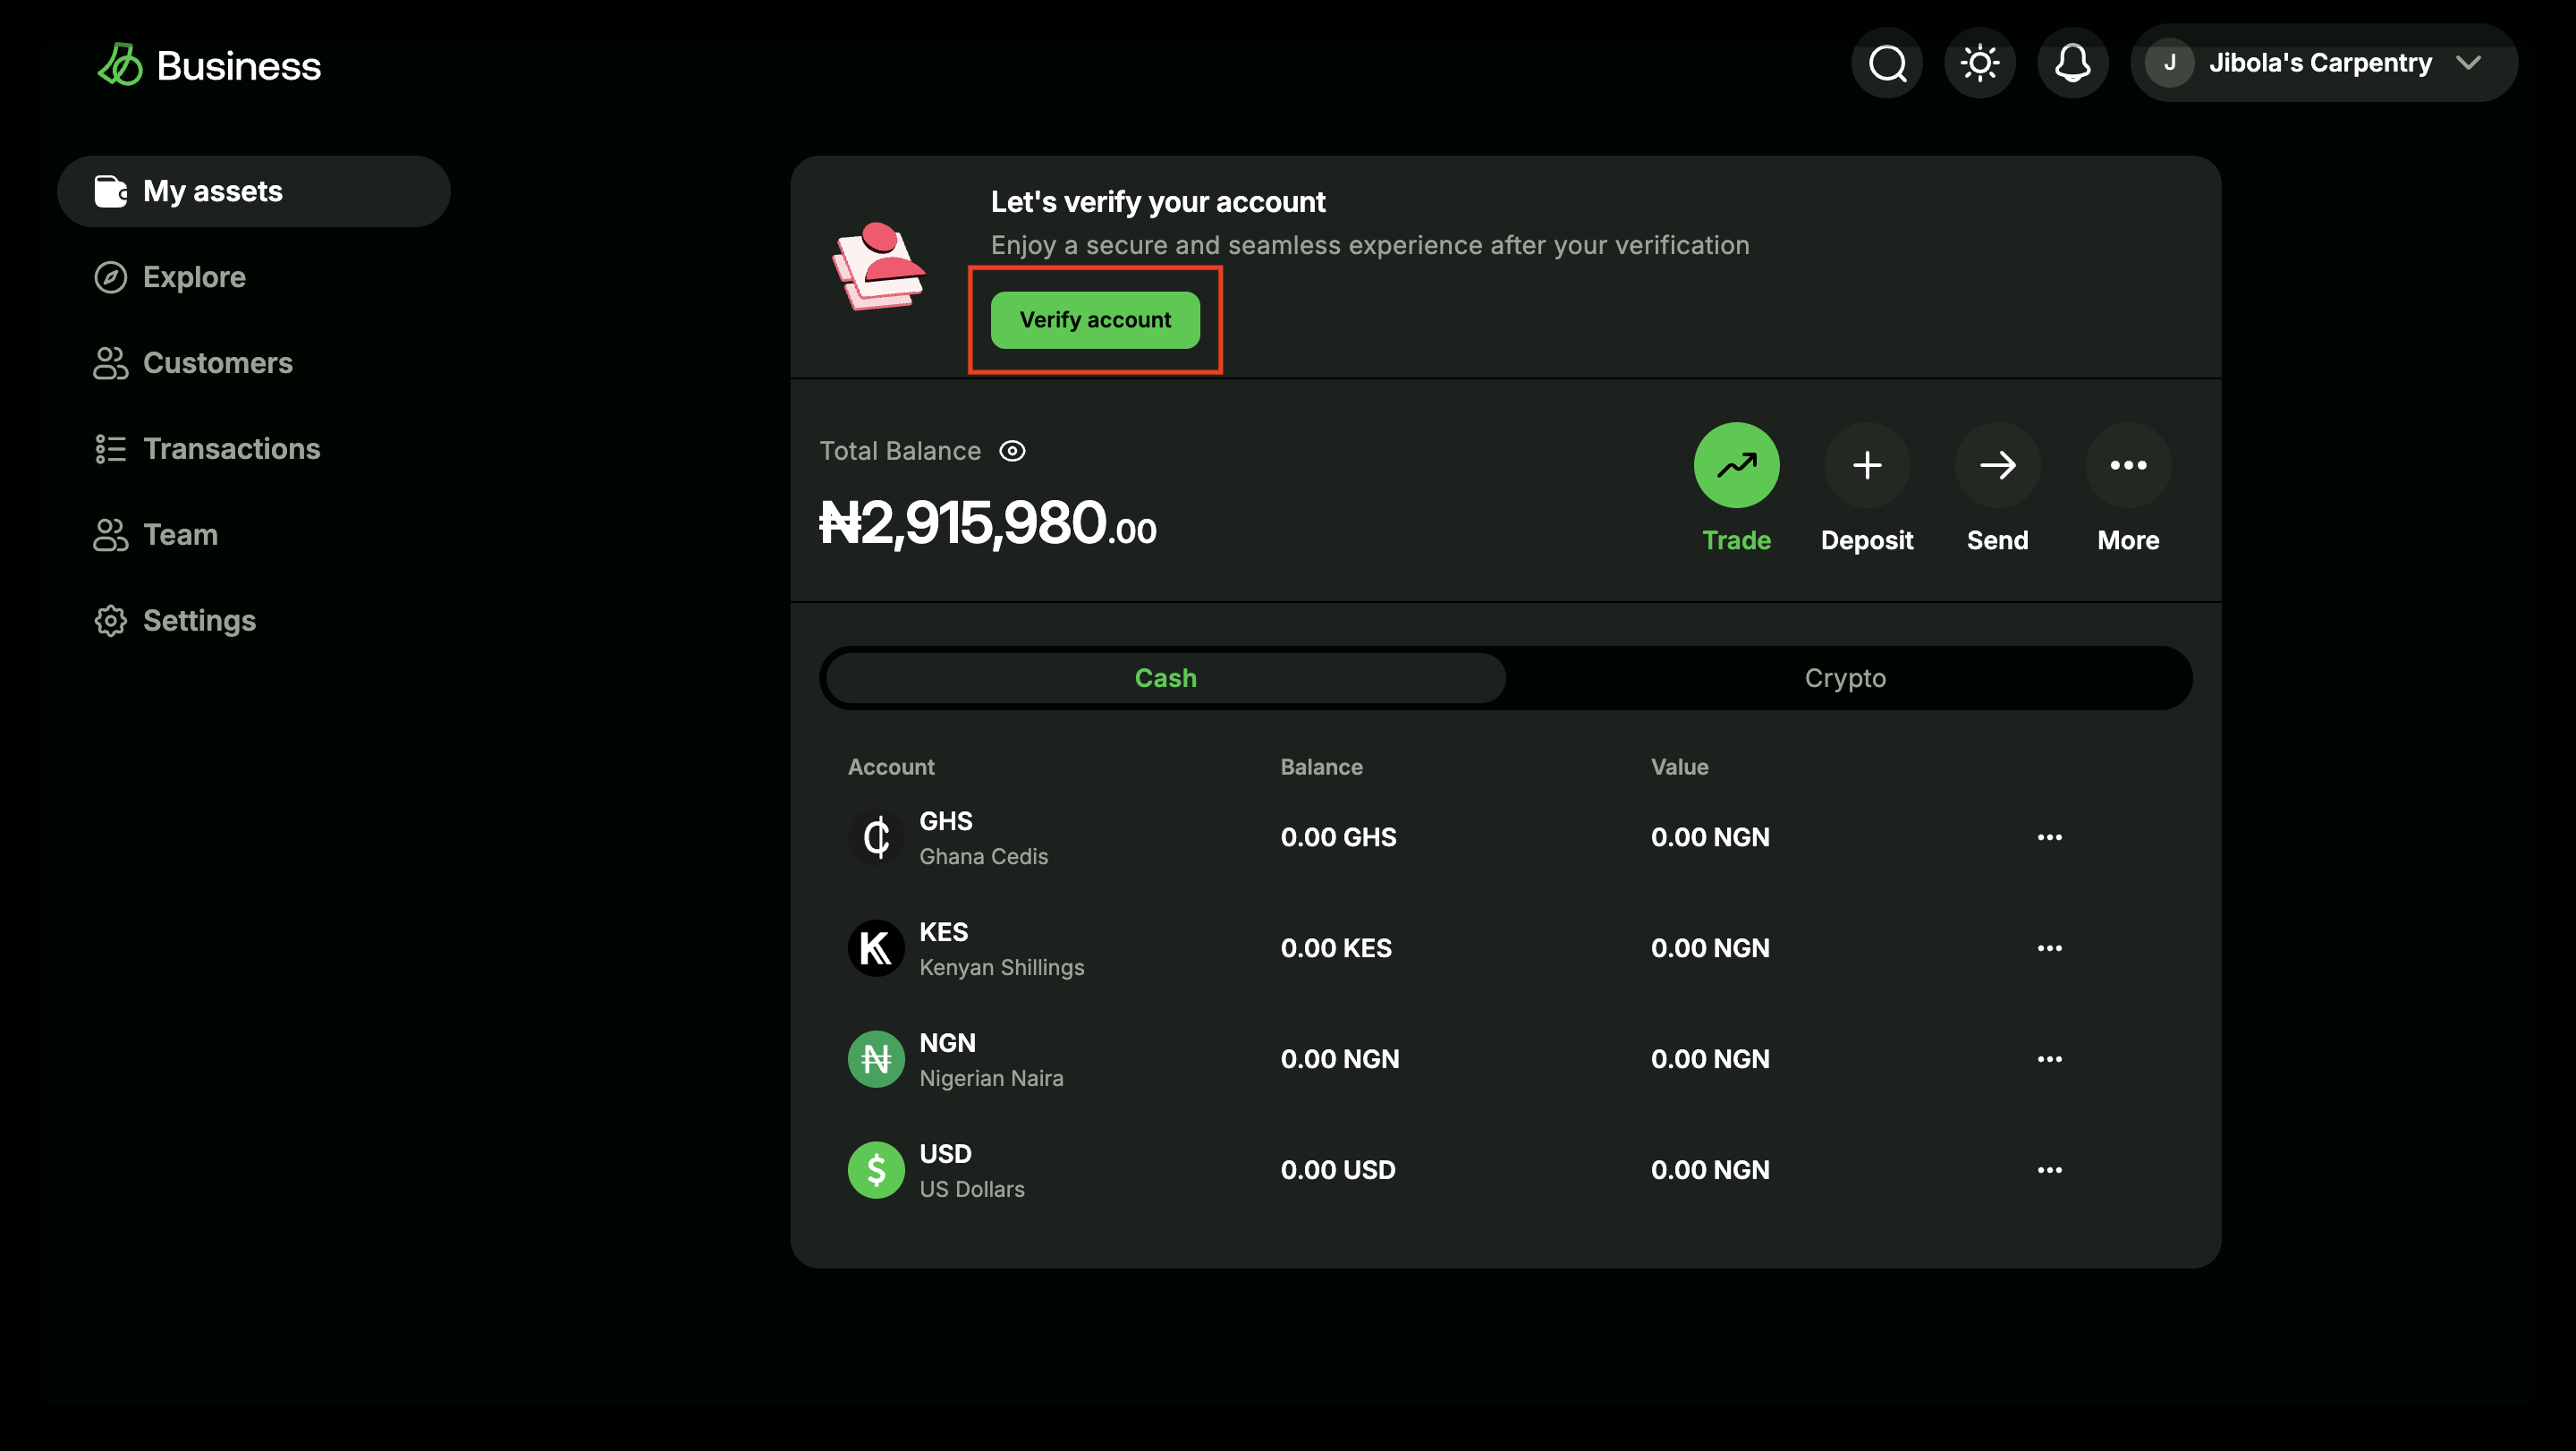
Business dashboard with a focus on Verify now
- Carefully follow the instructions to submit and upload all required Know Your Business (KYB) documents. This typically includes business registration, ownership structure, and other relevant company information.
You will receive confirmation that your documents have been submitted for review. Your account status will be updated to “Pending Verification”. We will notify you via email once your KYB is approved, which is required for live API access.
Enhance Security with Two-Factor Authentication (2FA)
Once your business account is approved, enabling 2FA is the next step to protect your account and API keys.
-
From your Avatar Dropdown Menu, click on your Personal account.
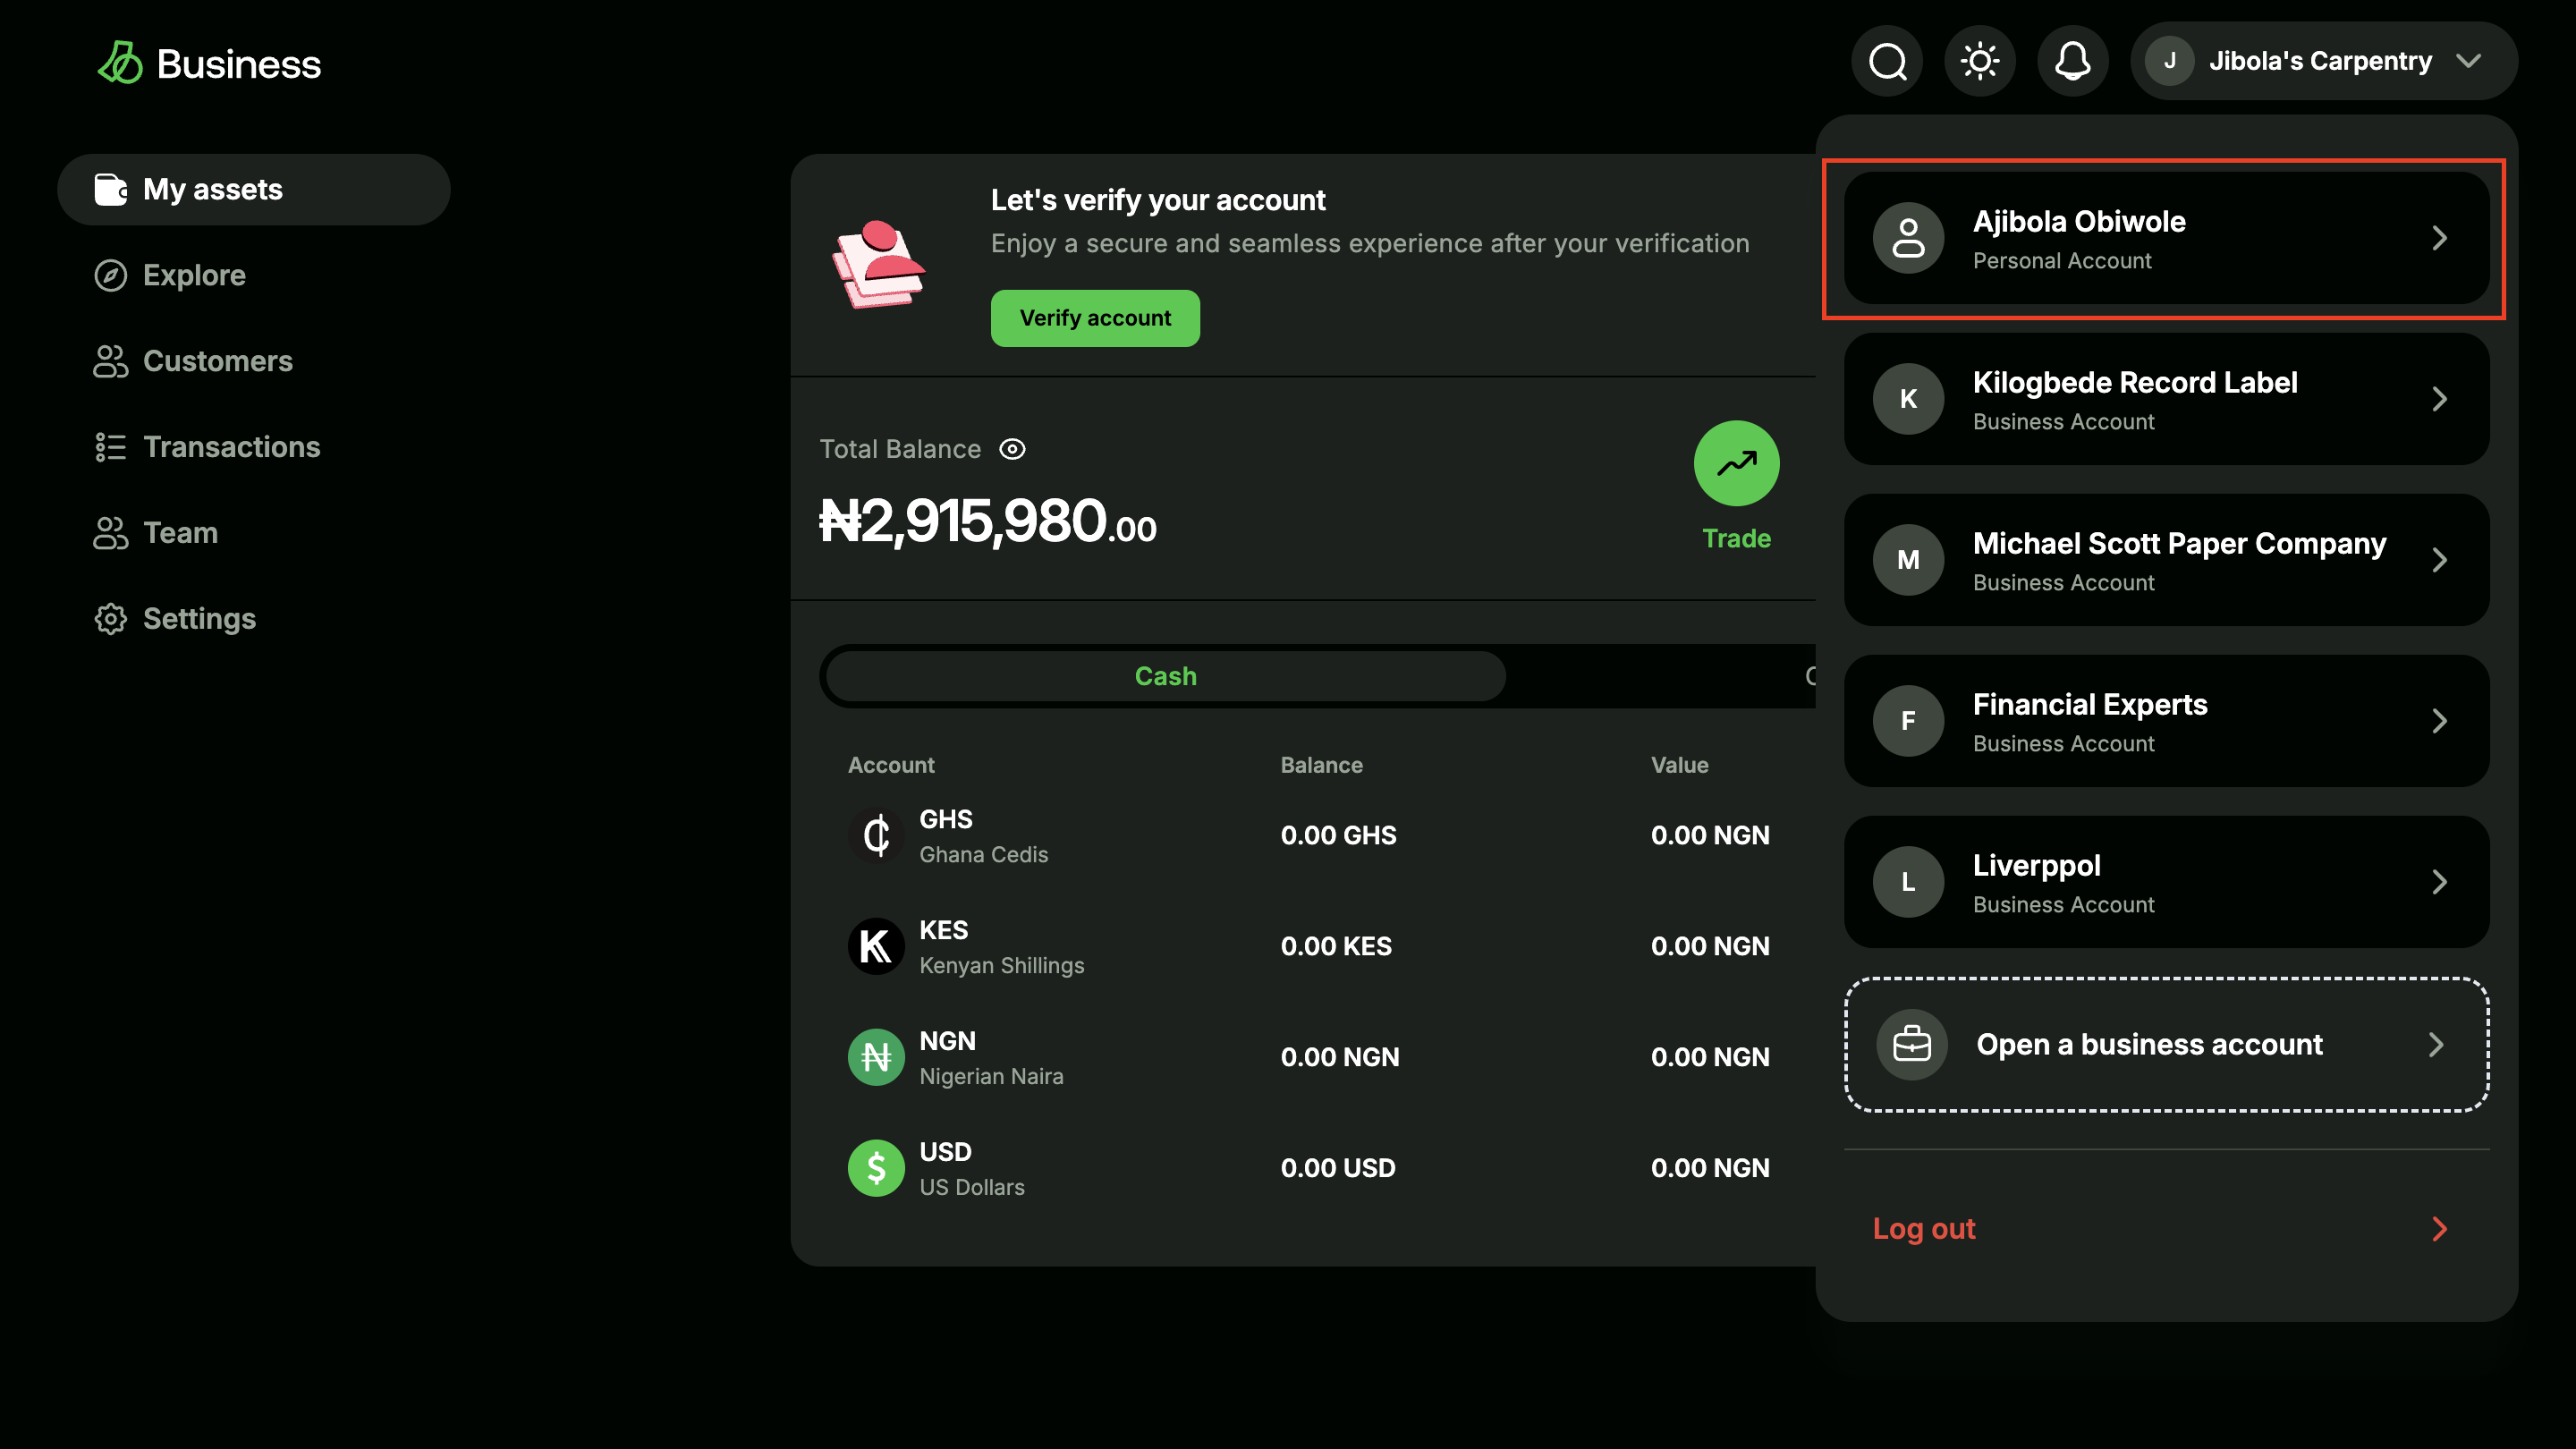
Business dashboard with a focus on Personal account
-
Click on Settings on the left sidebar, and go to the Security page.
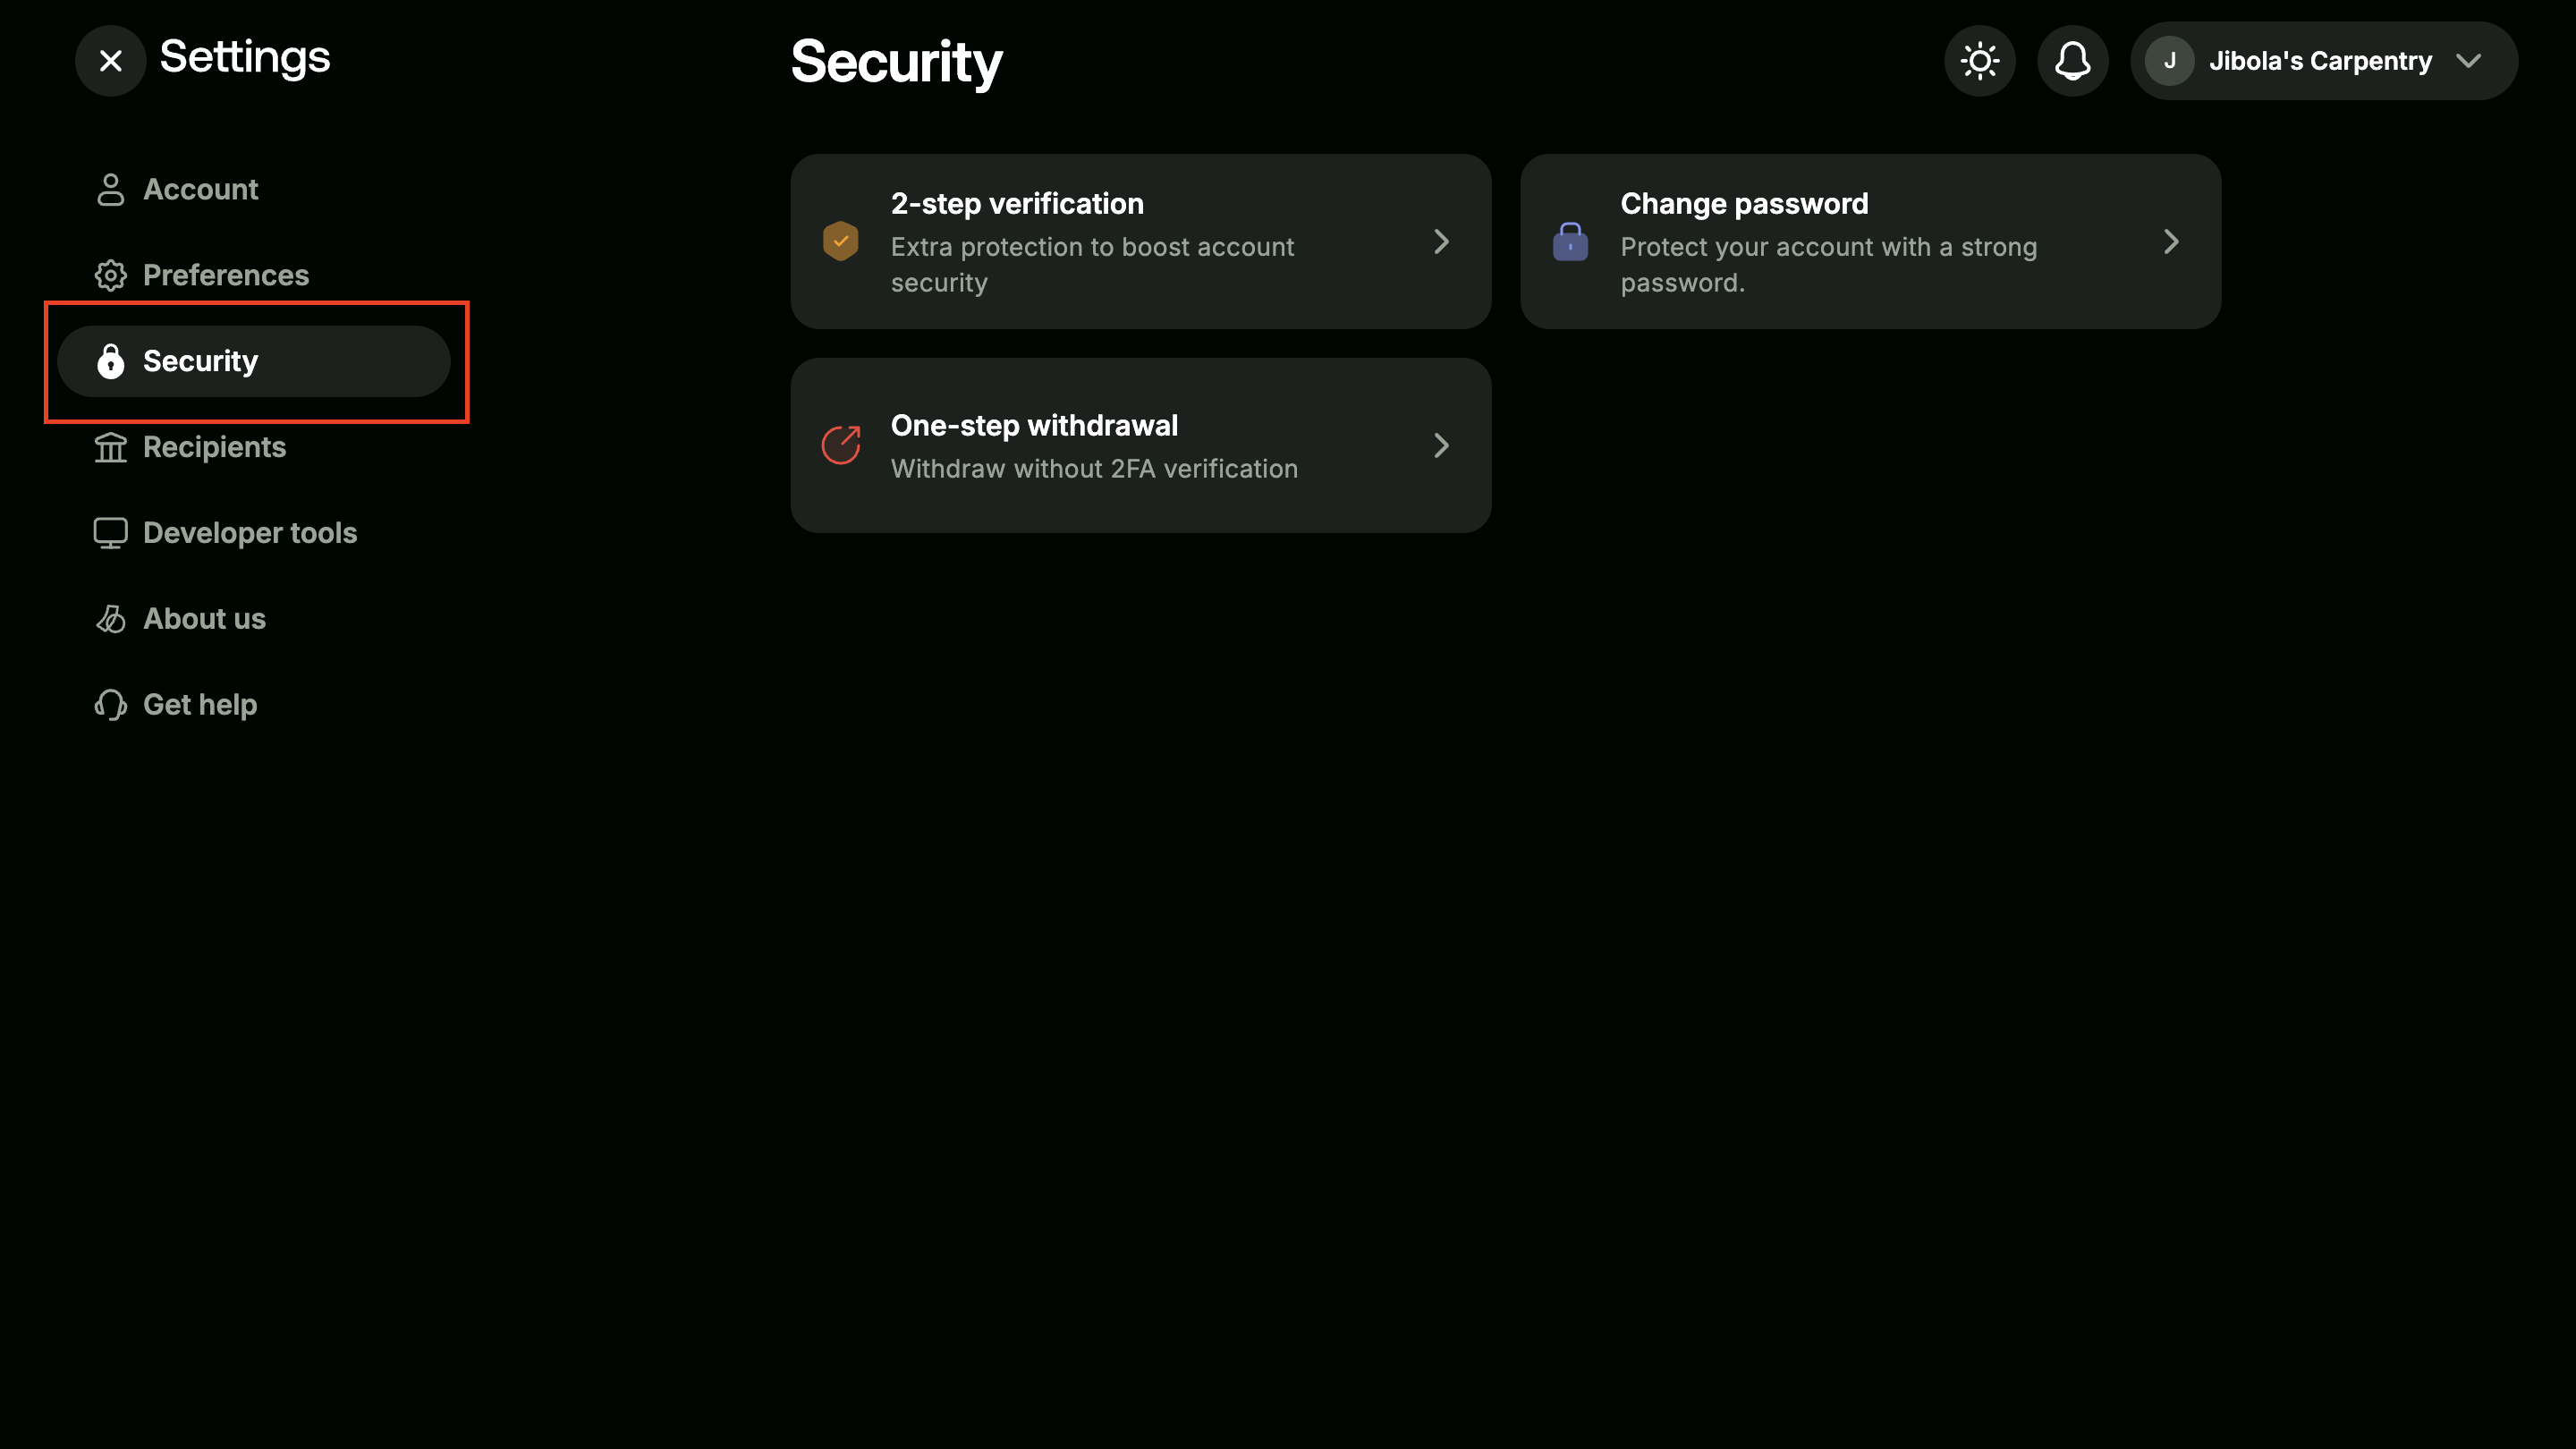
Security page with security tab highlighted
-
Click on Two Factor Authentication and follow the on-screen prompt.
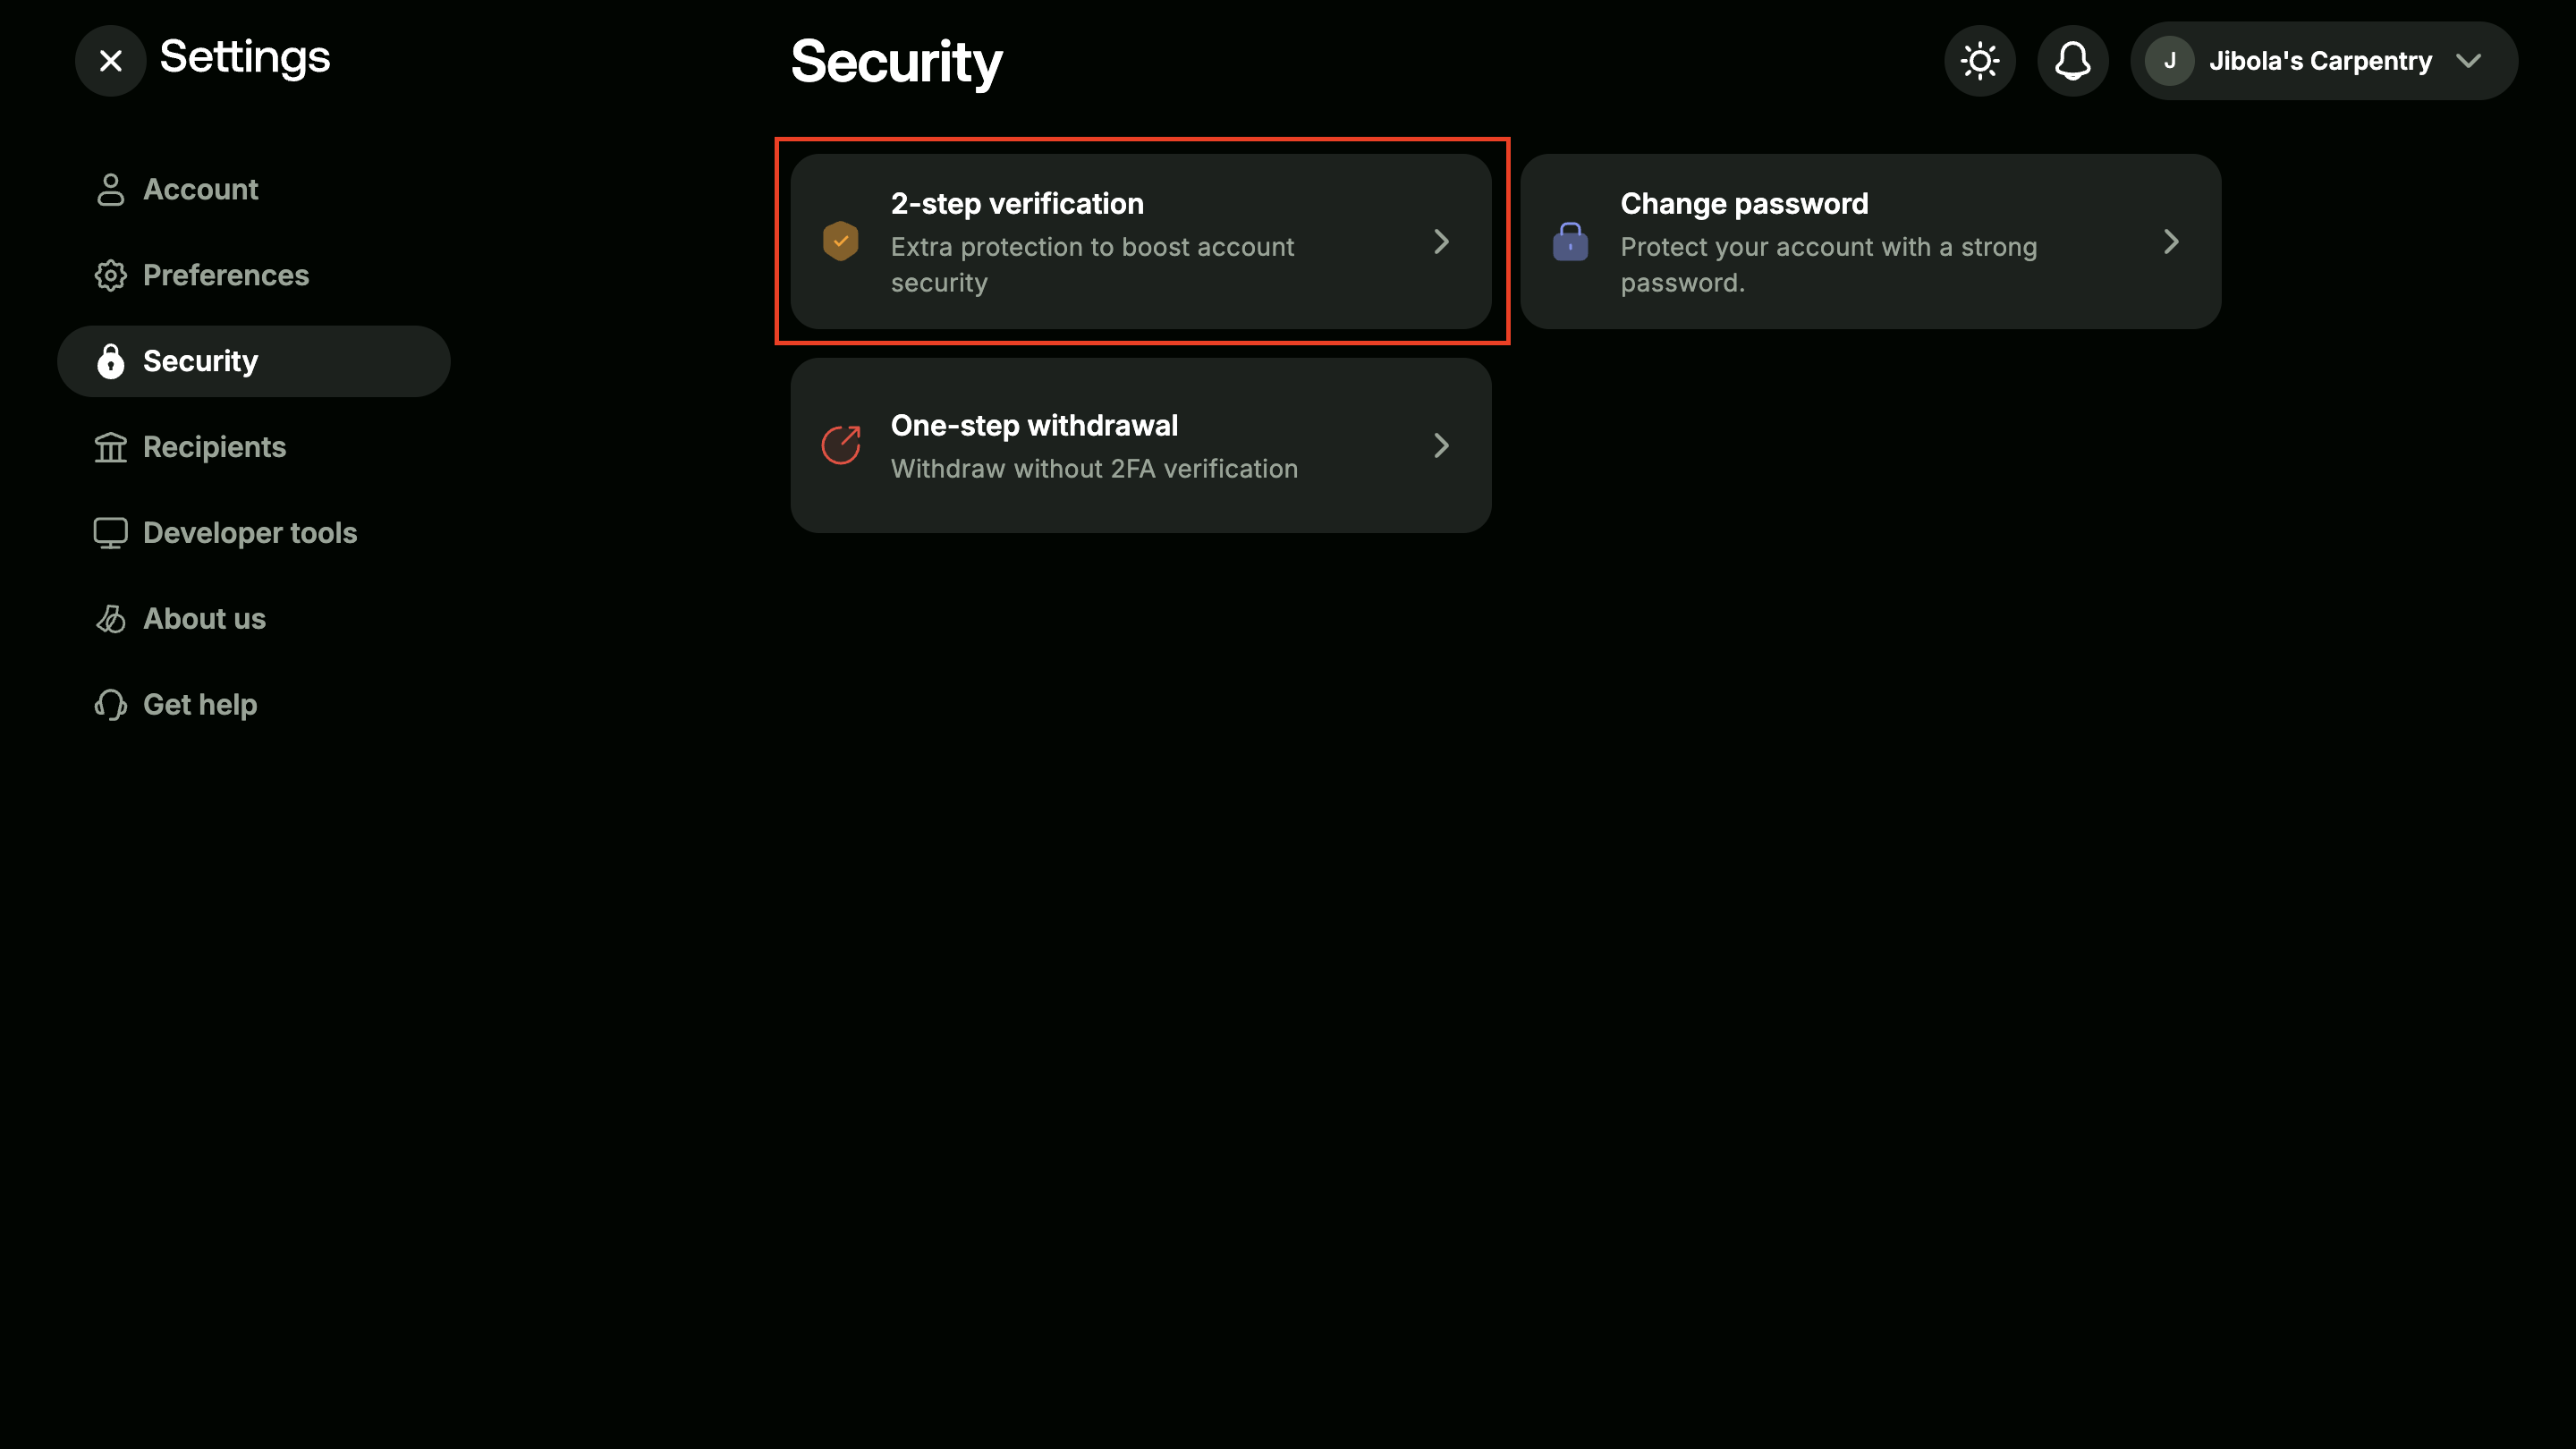
Security page with Two Factor Authentication in focus
-
Input the verification code sent to your registered email address.
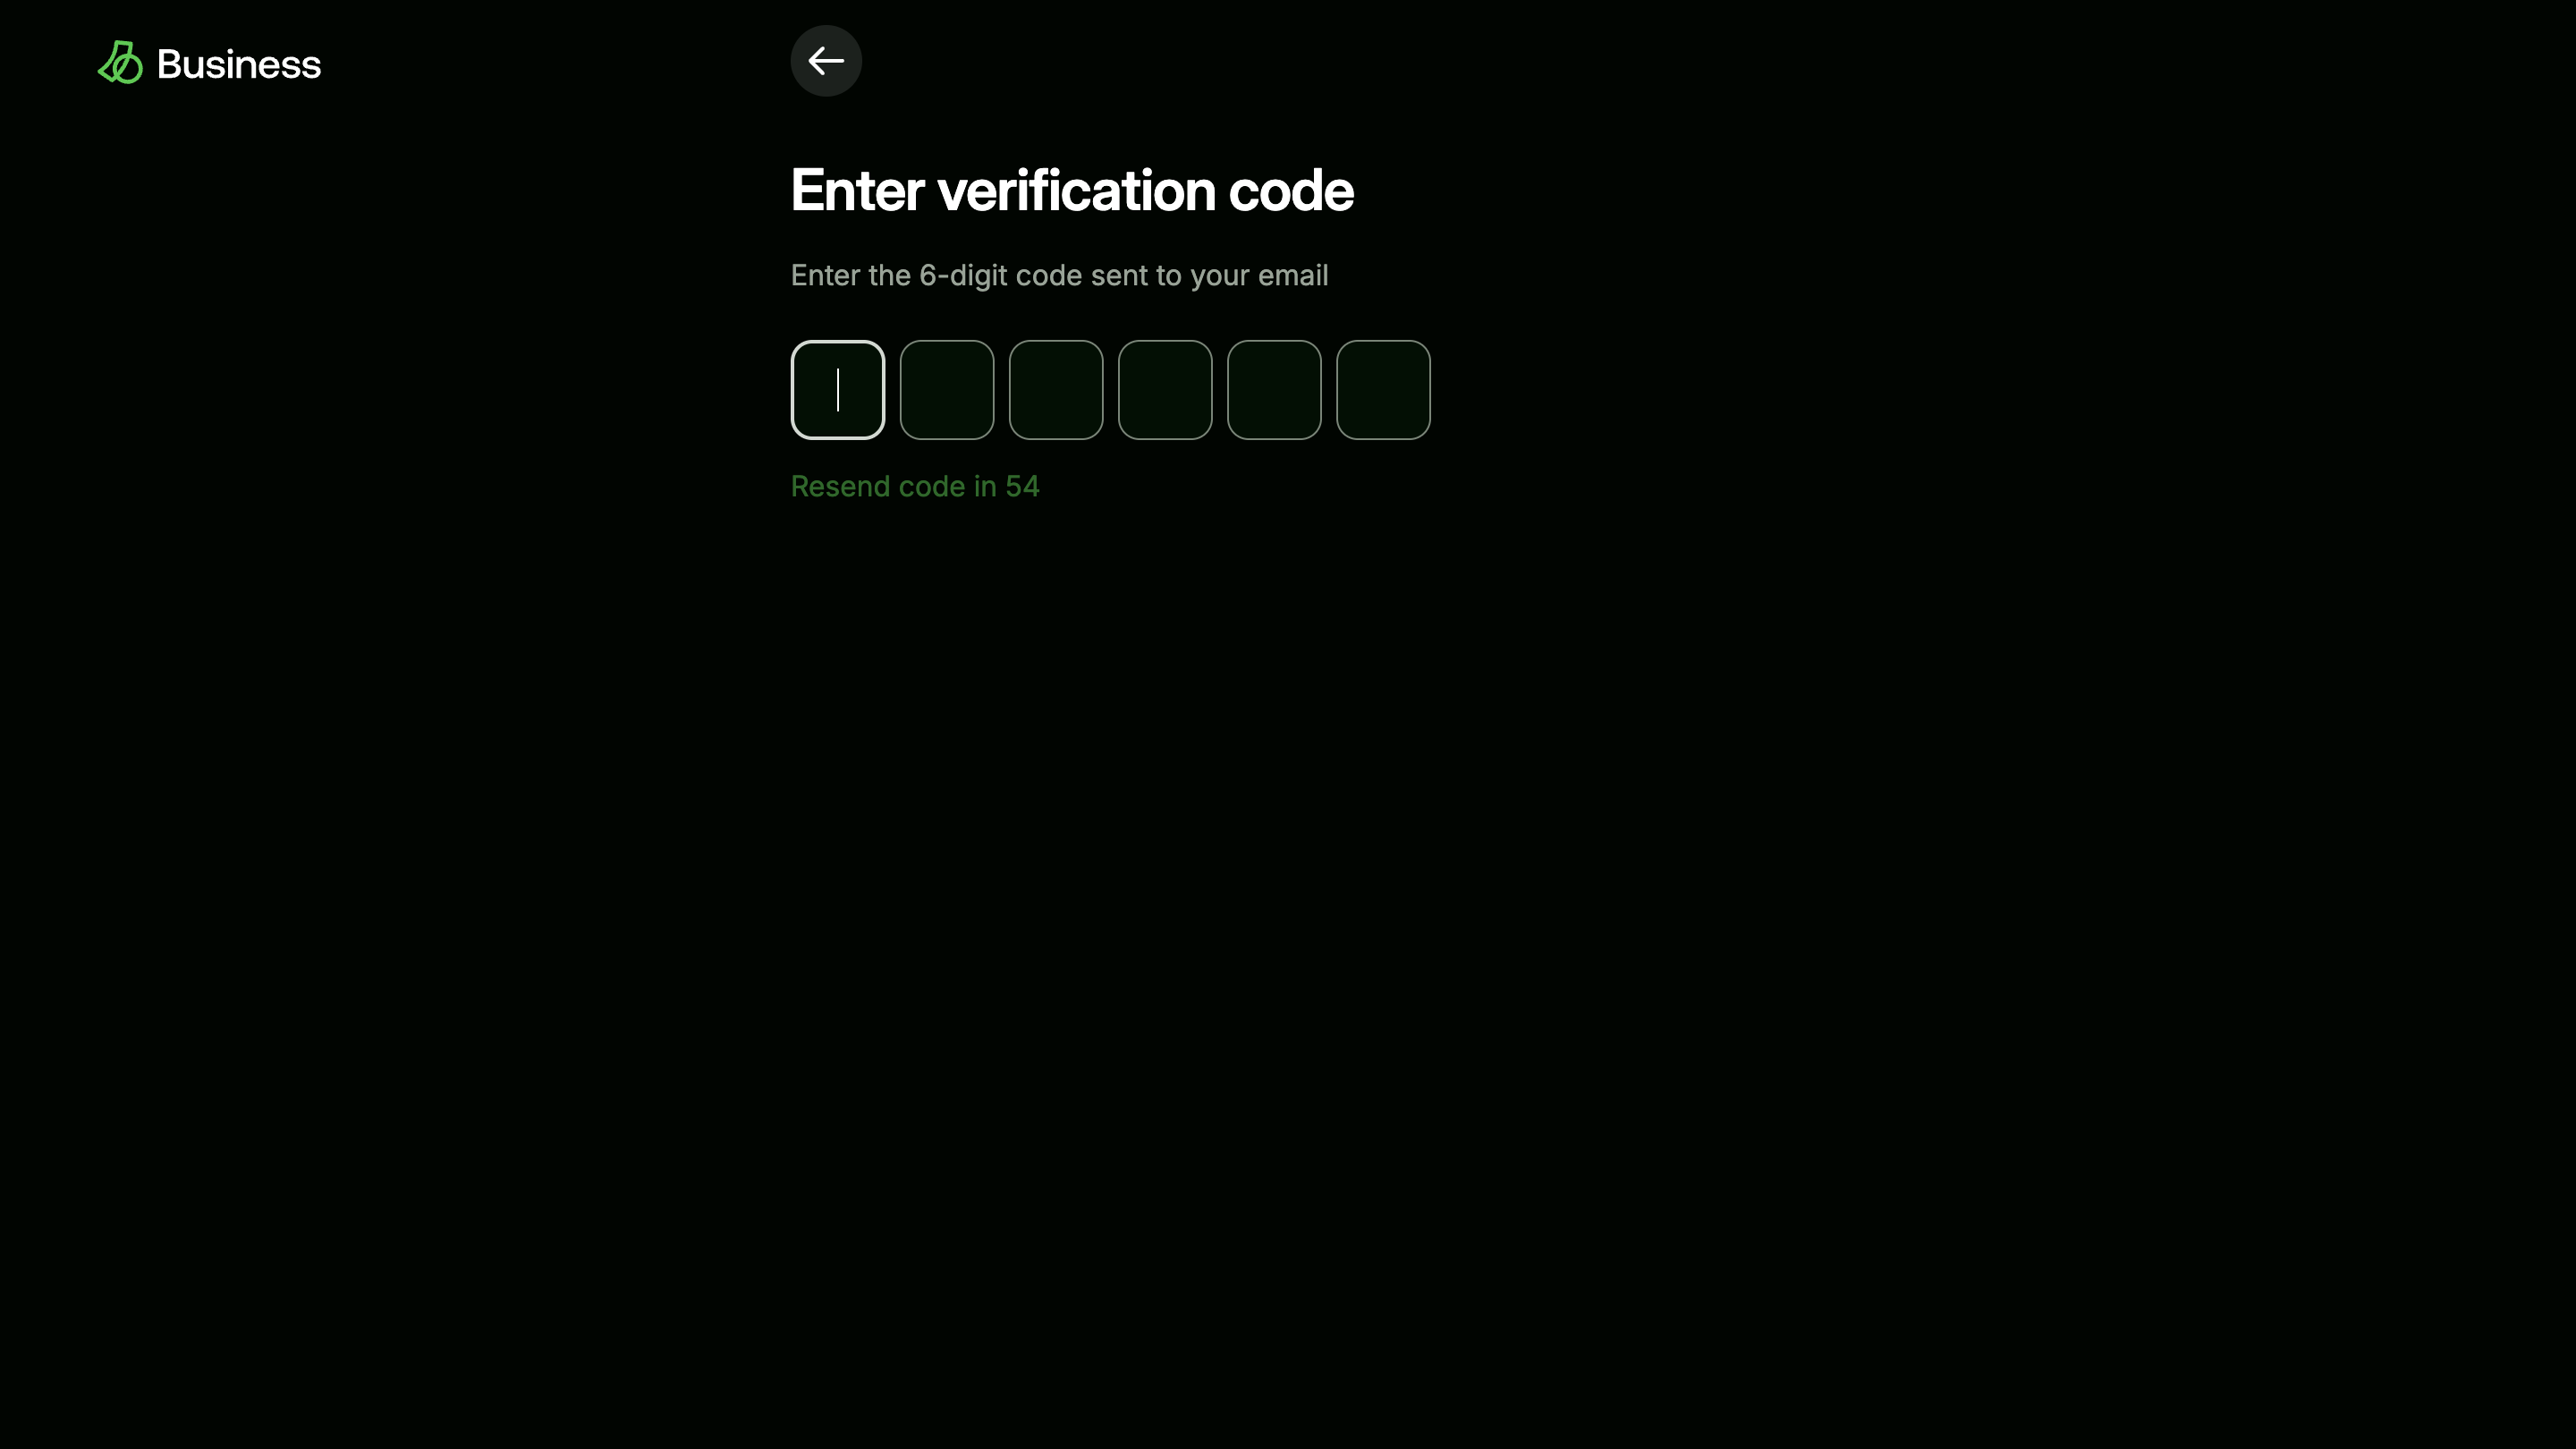
Verify your identity to enable 2FA
-
Register your Busha account with an authenticator application like Google Authenticator and input the Time-based One Time Token (TOTP) from your authenticator application.
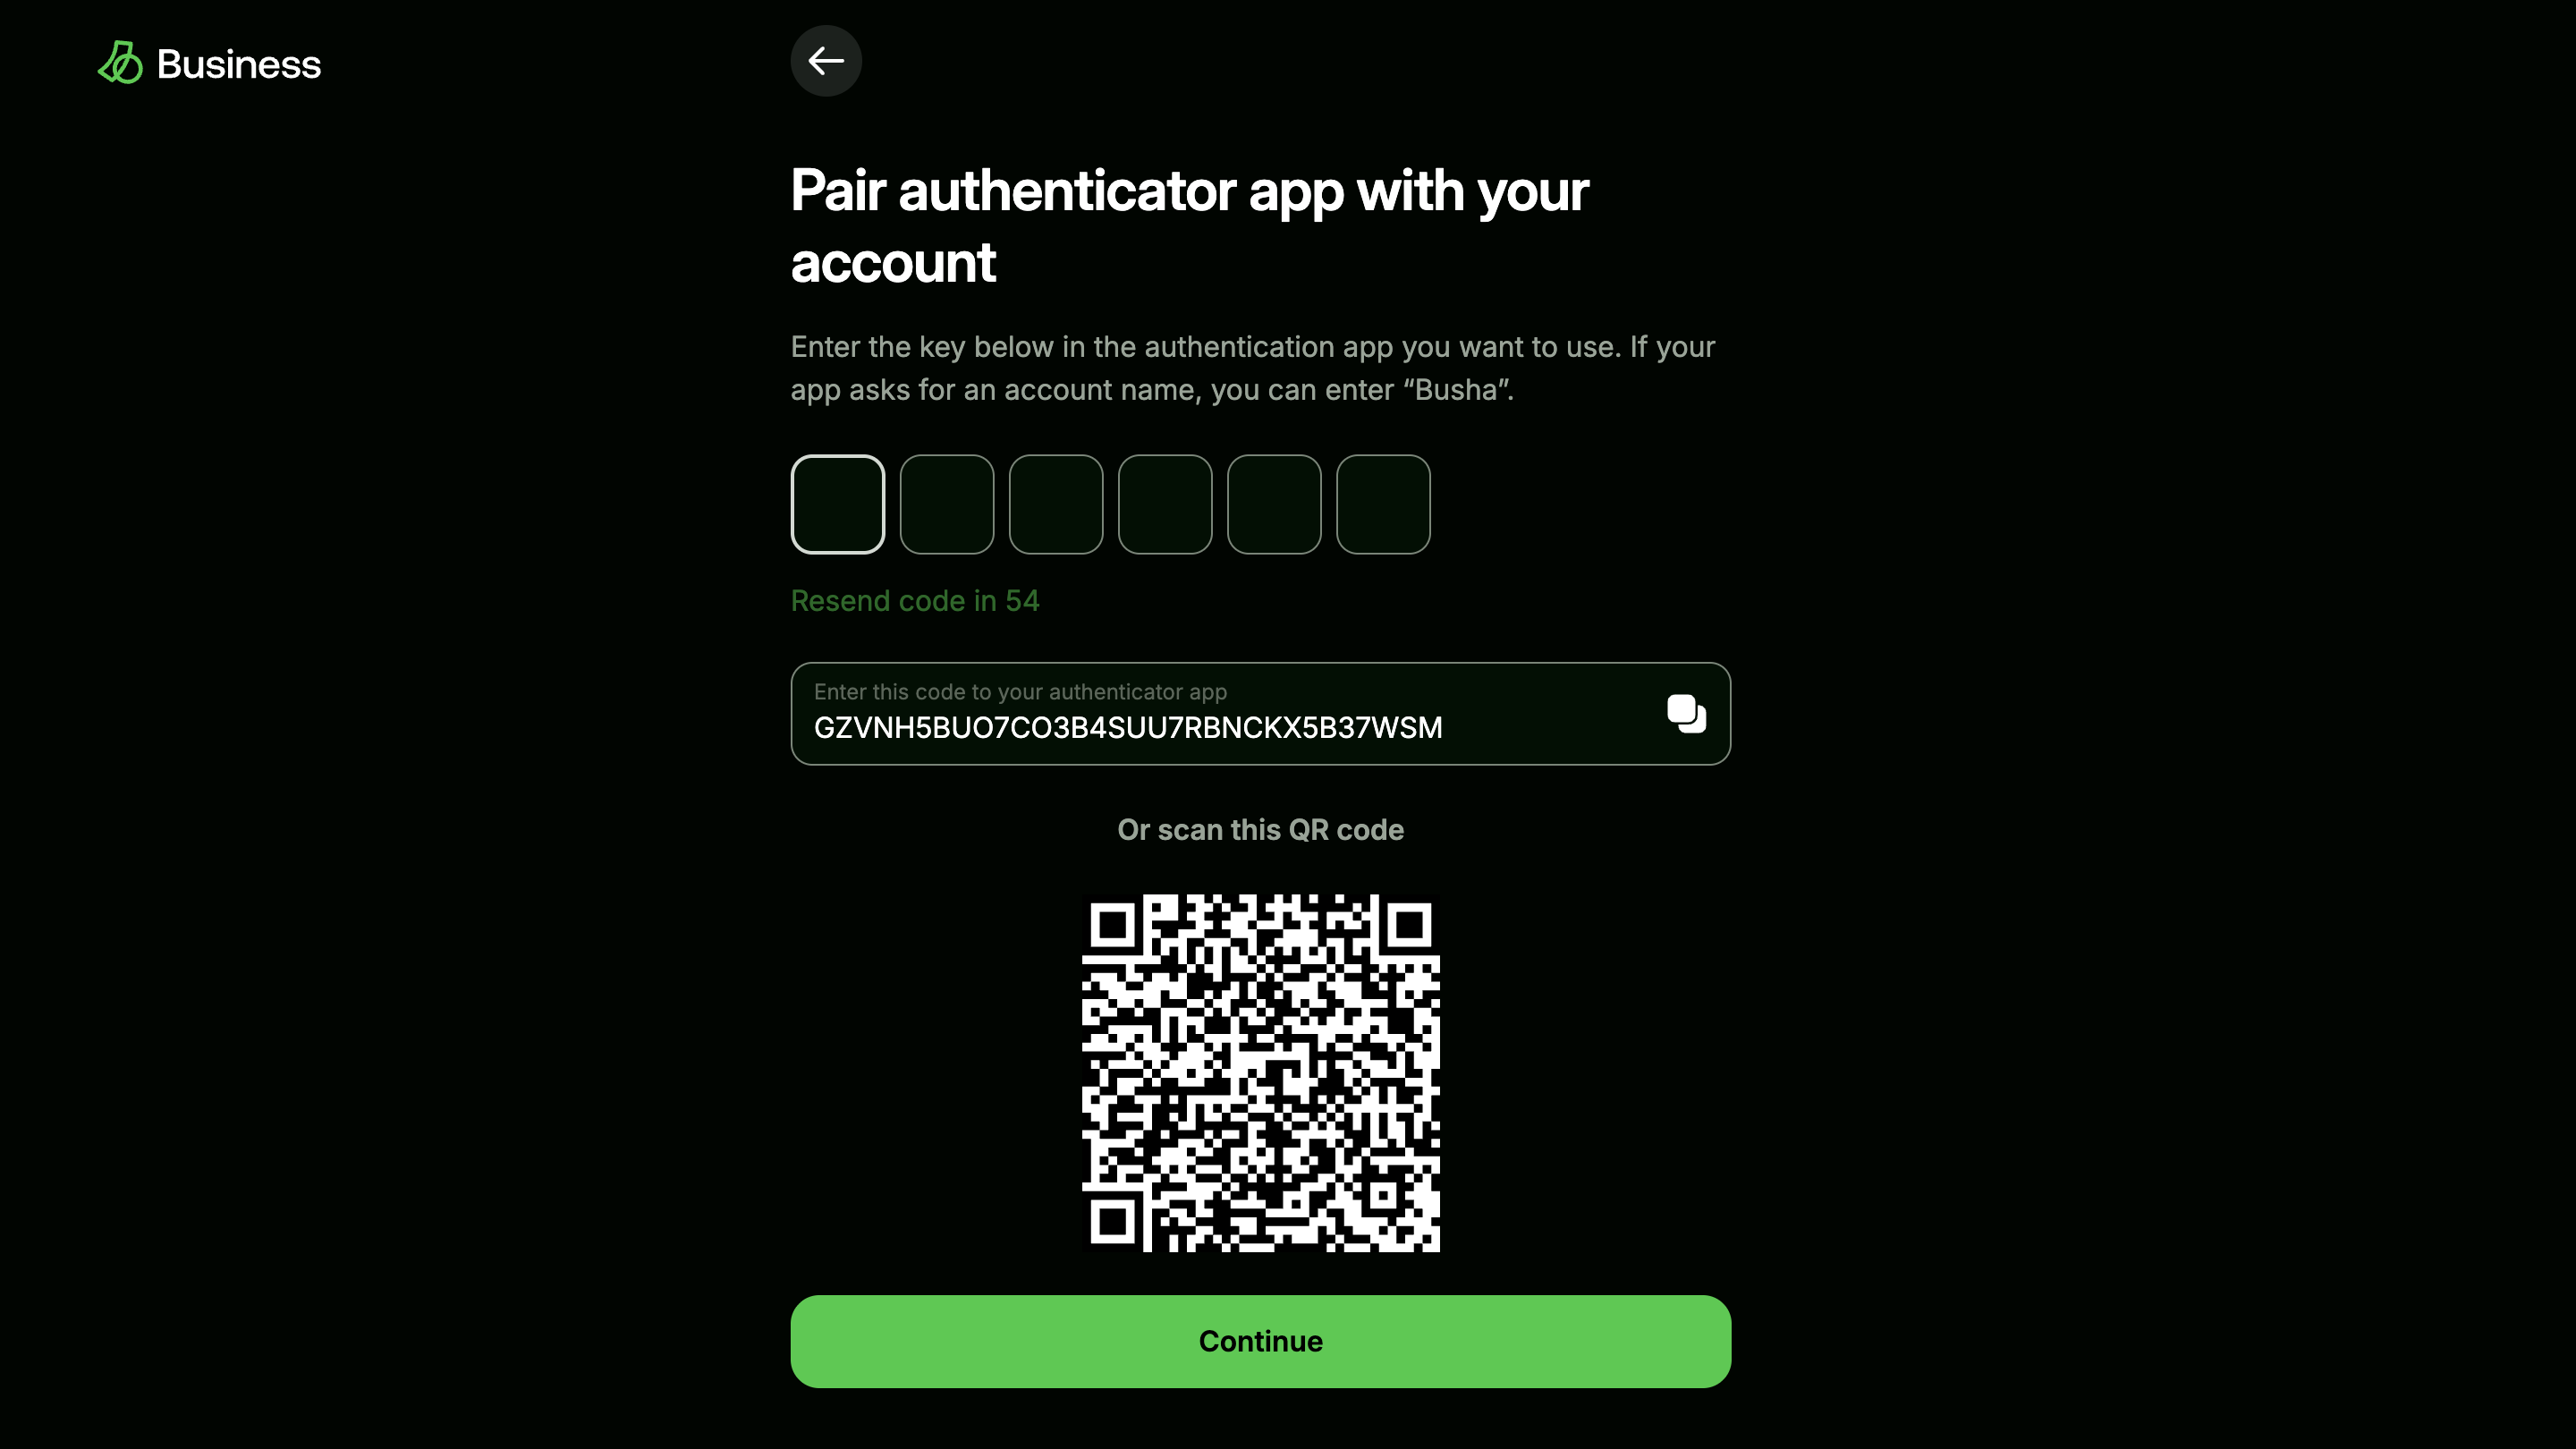
Activation key for authenticator application of choice
-
You’re all set!
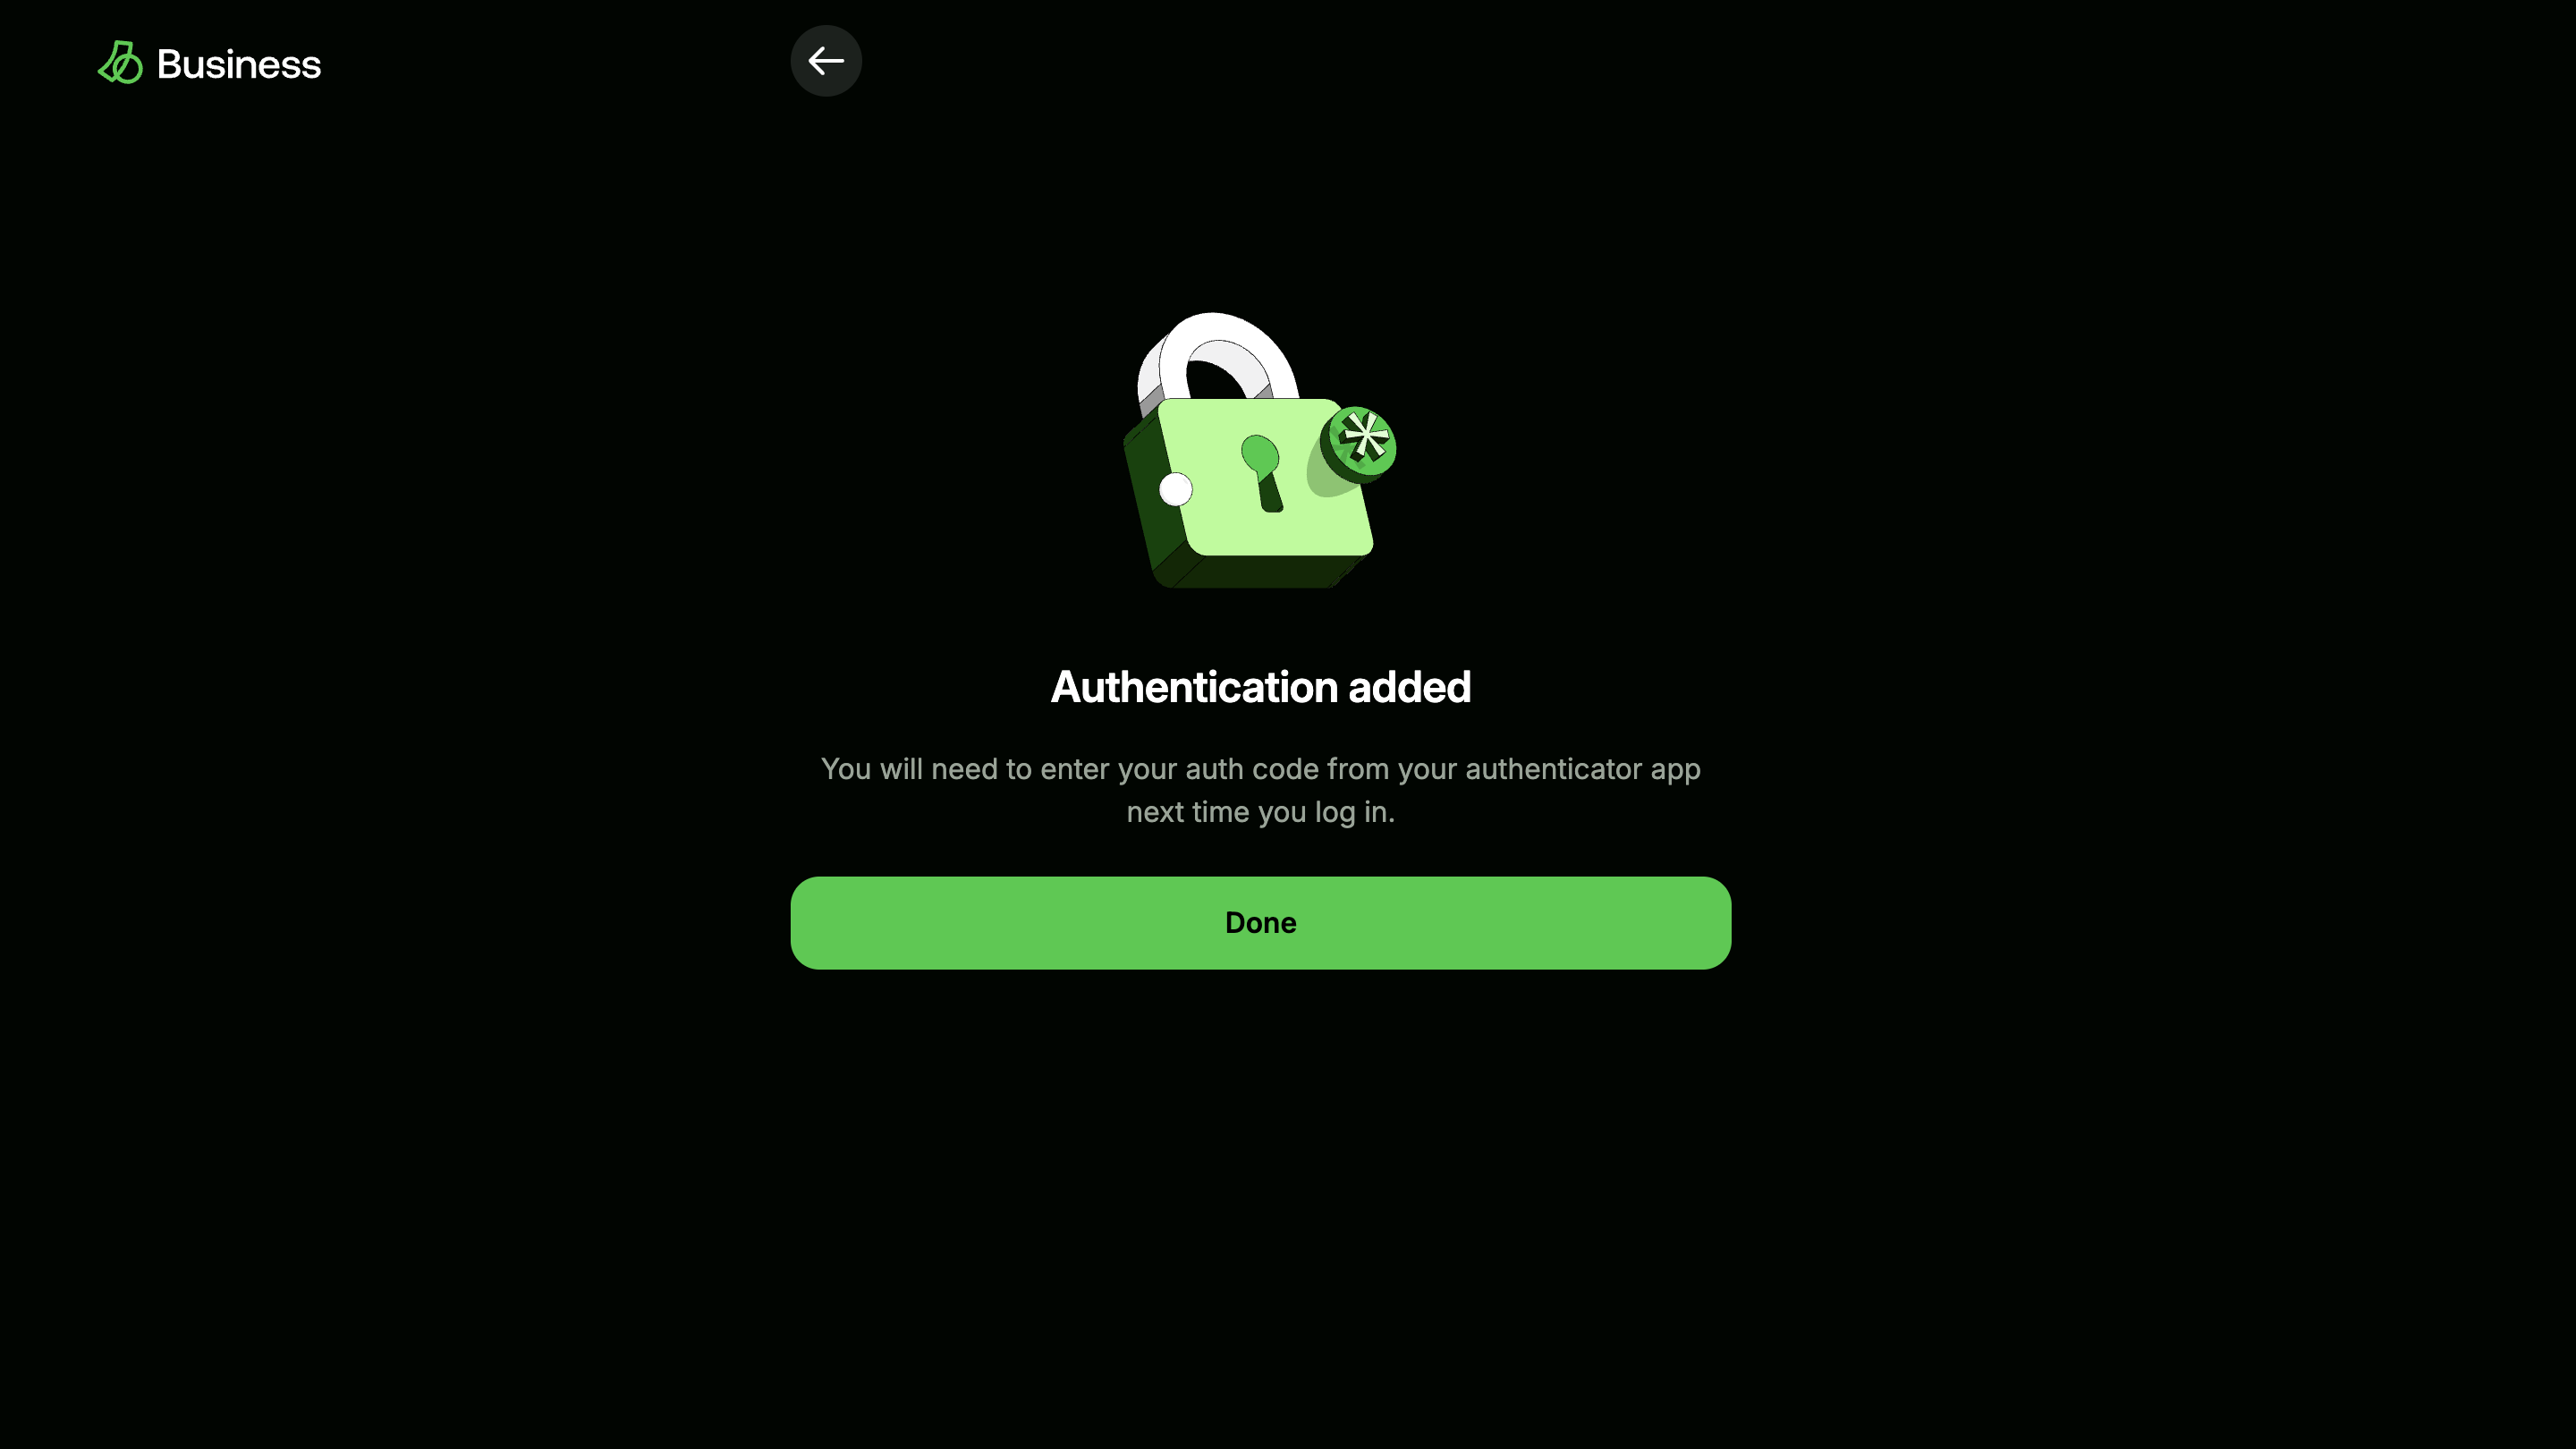
Success page : 2FA successfully enabled
2FA has been successfully enabled for your Busha account, adding an extra layer of security.Generate Your API Keys
At this juncture, you are already familiar with the Busha dashboard. You’ll create your unique API keys to interact with Busha’s services.You have successfully generated a secret API key with full permissions. With this API key, you’re ready to interact with Busha programmatically.
-
From your Busha Business dashboard, go to the side bar and click settings.
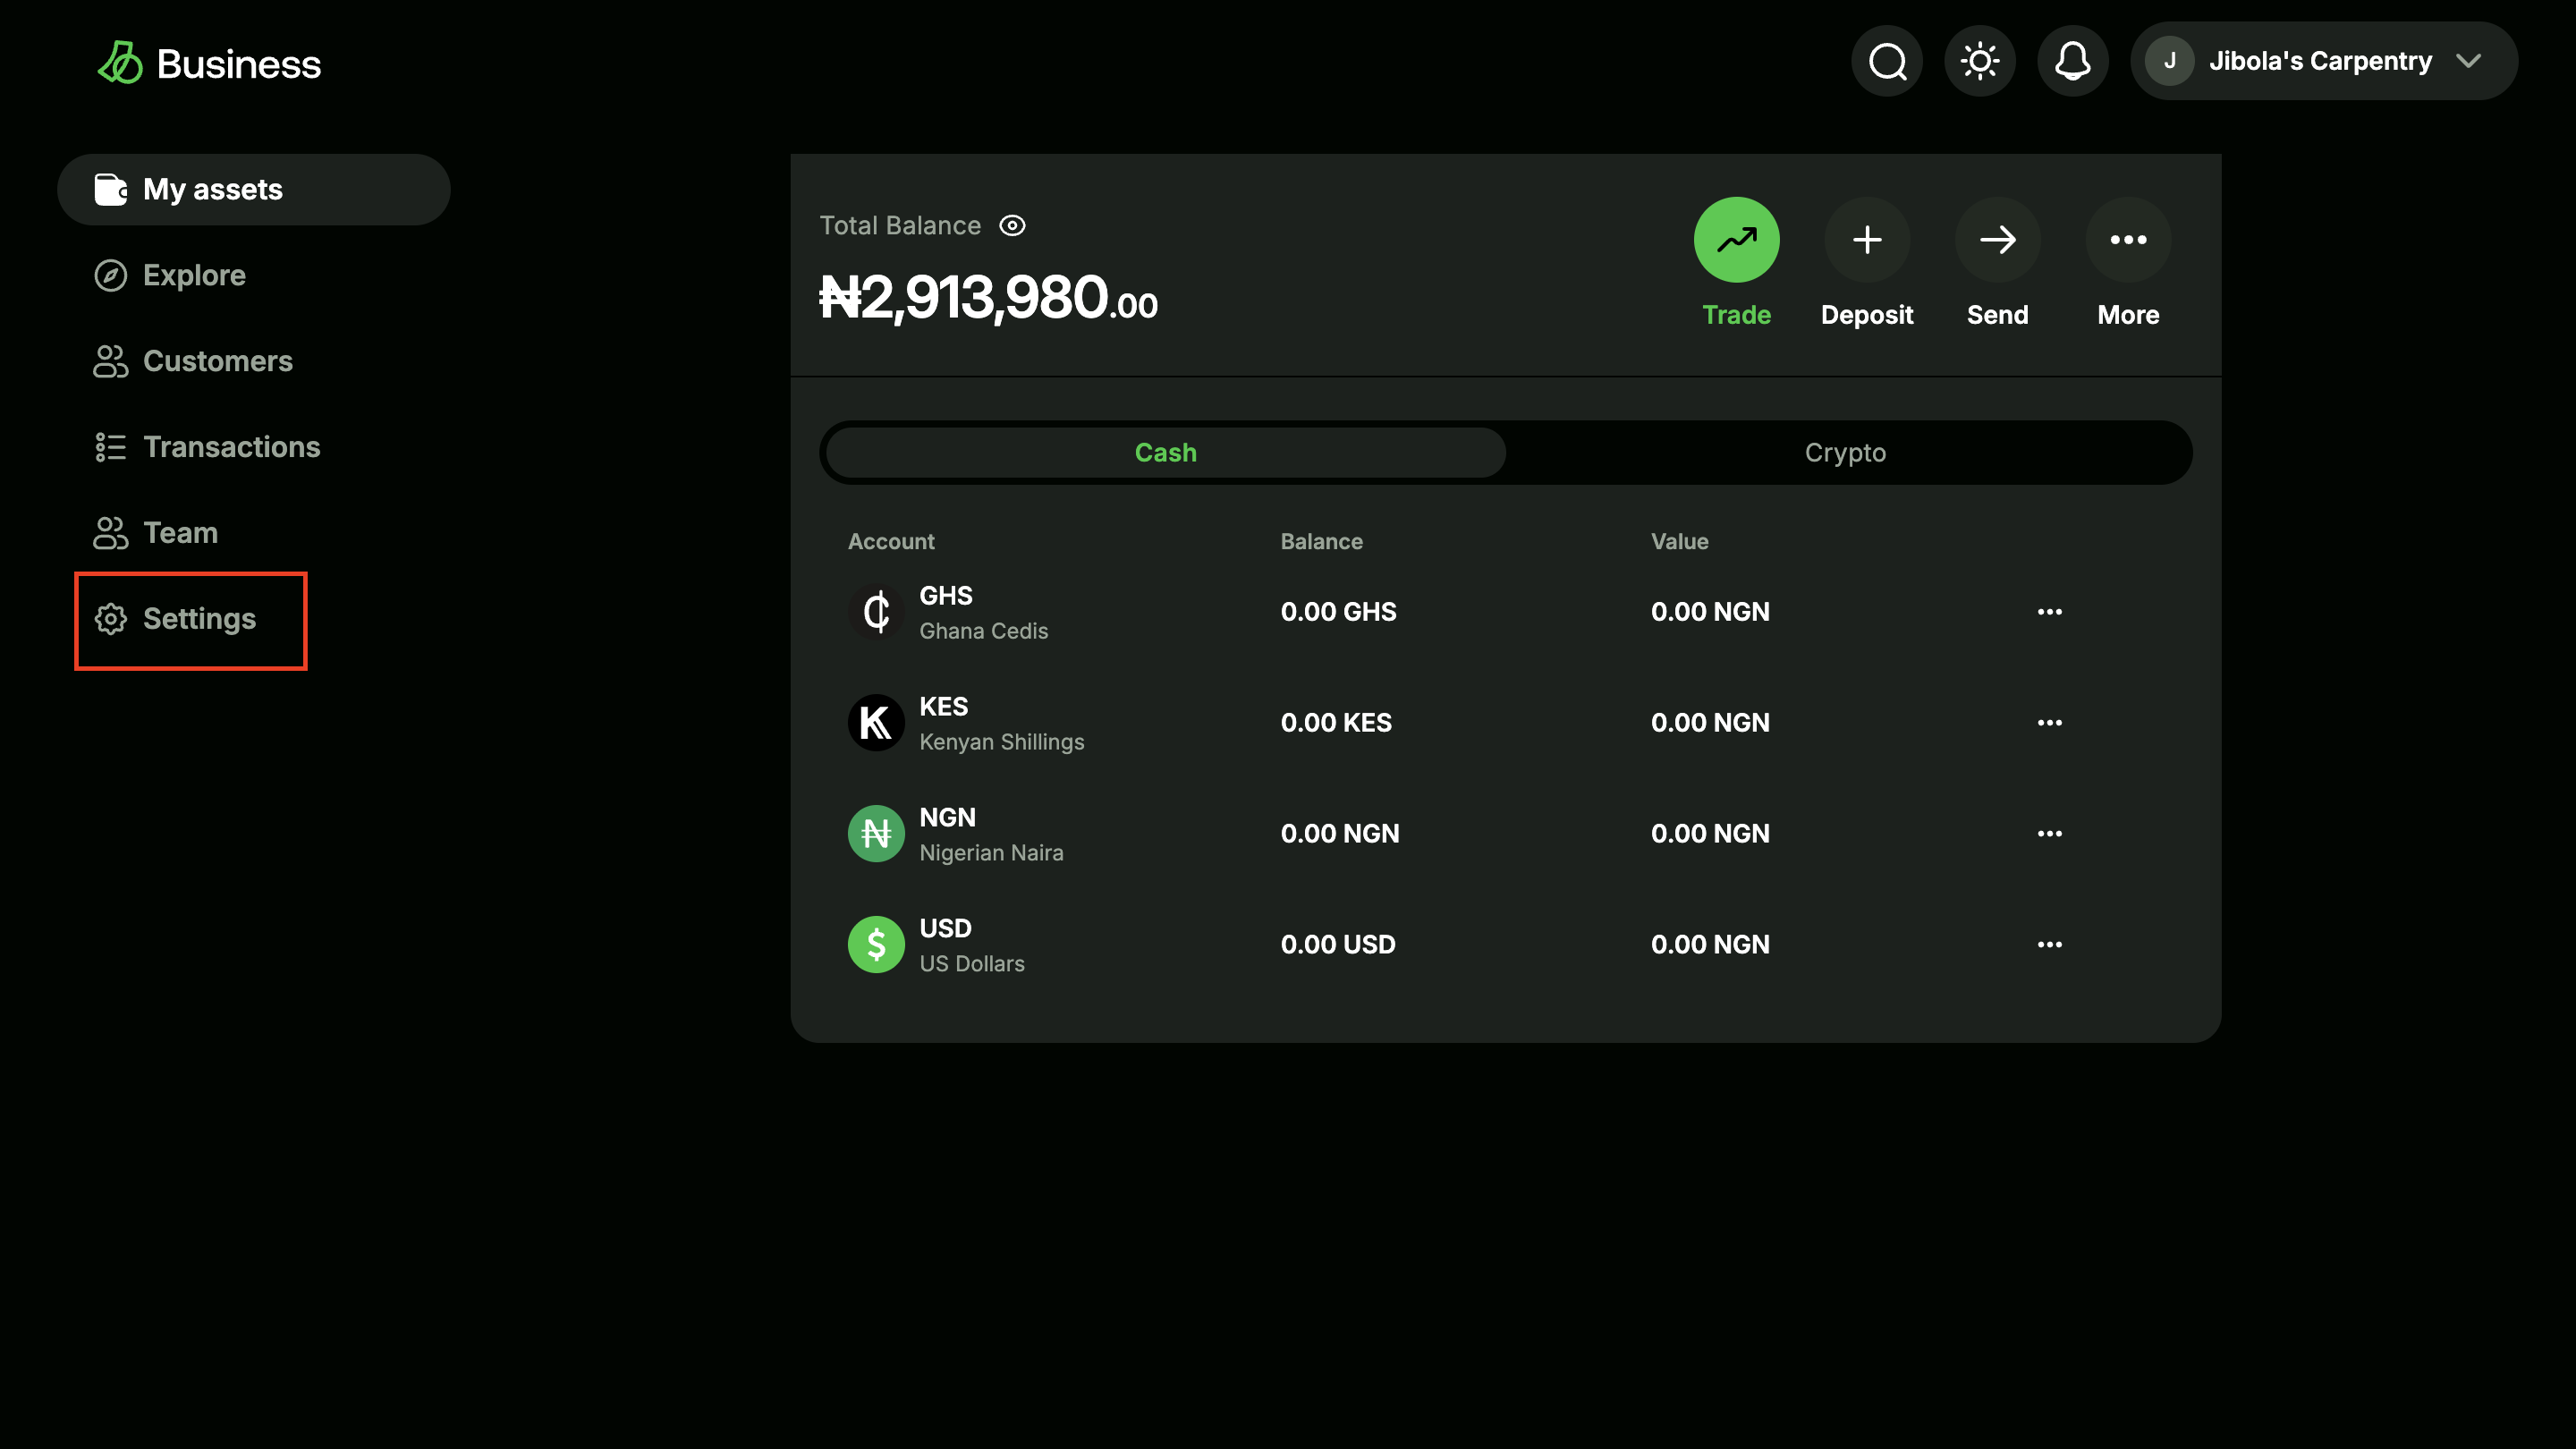
Dashboard with settings in focus
-
Click on “Developer tools > API Tokens”.
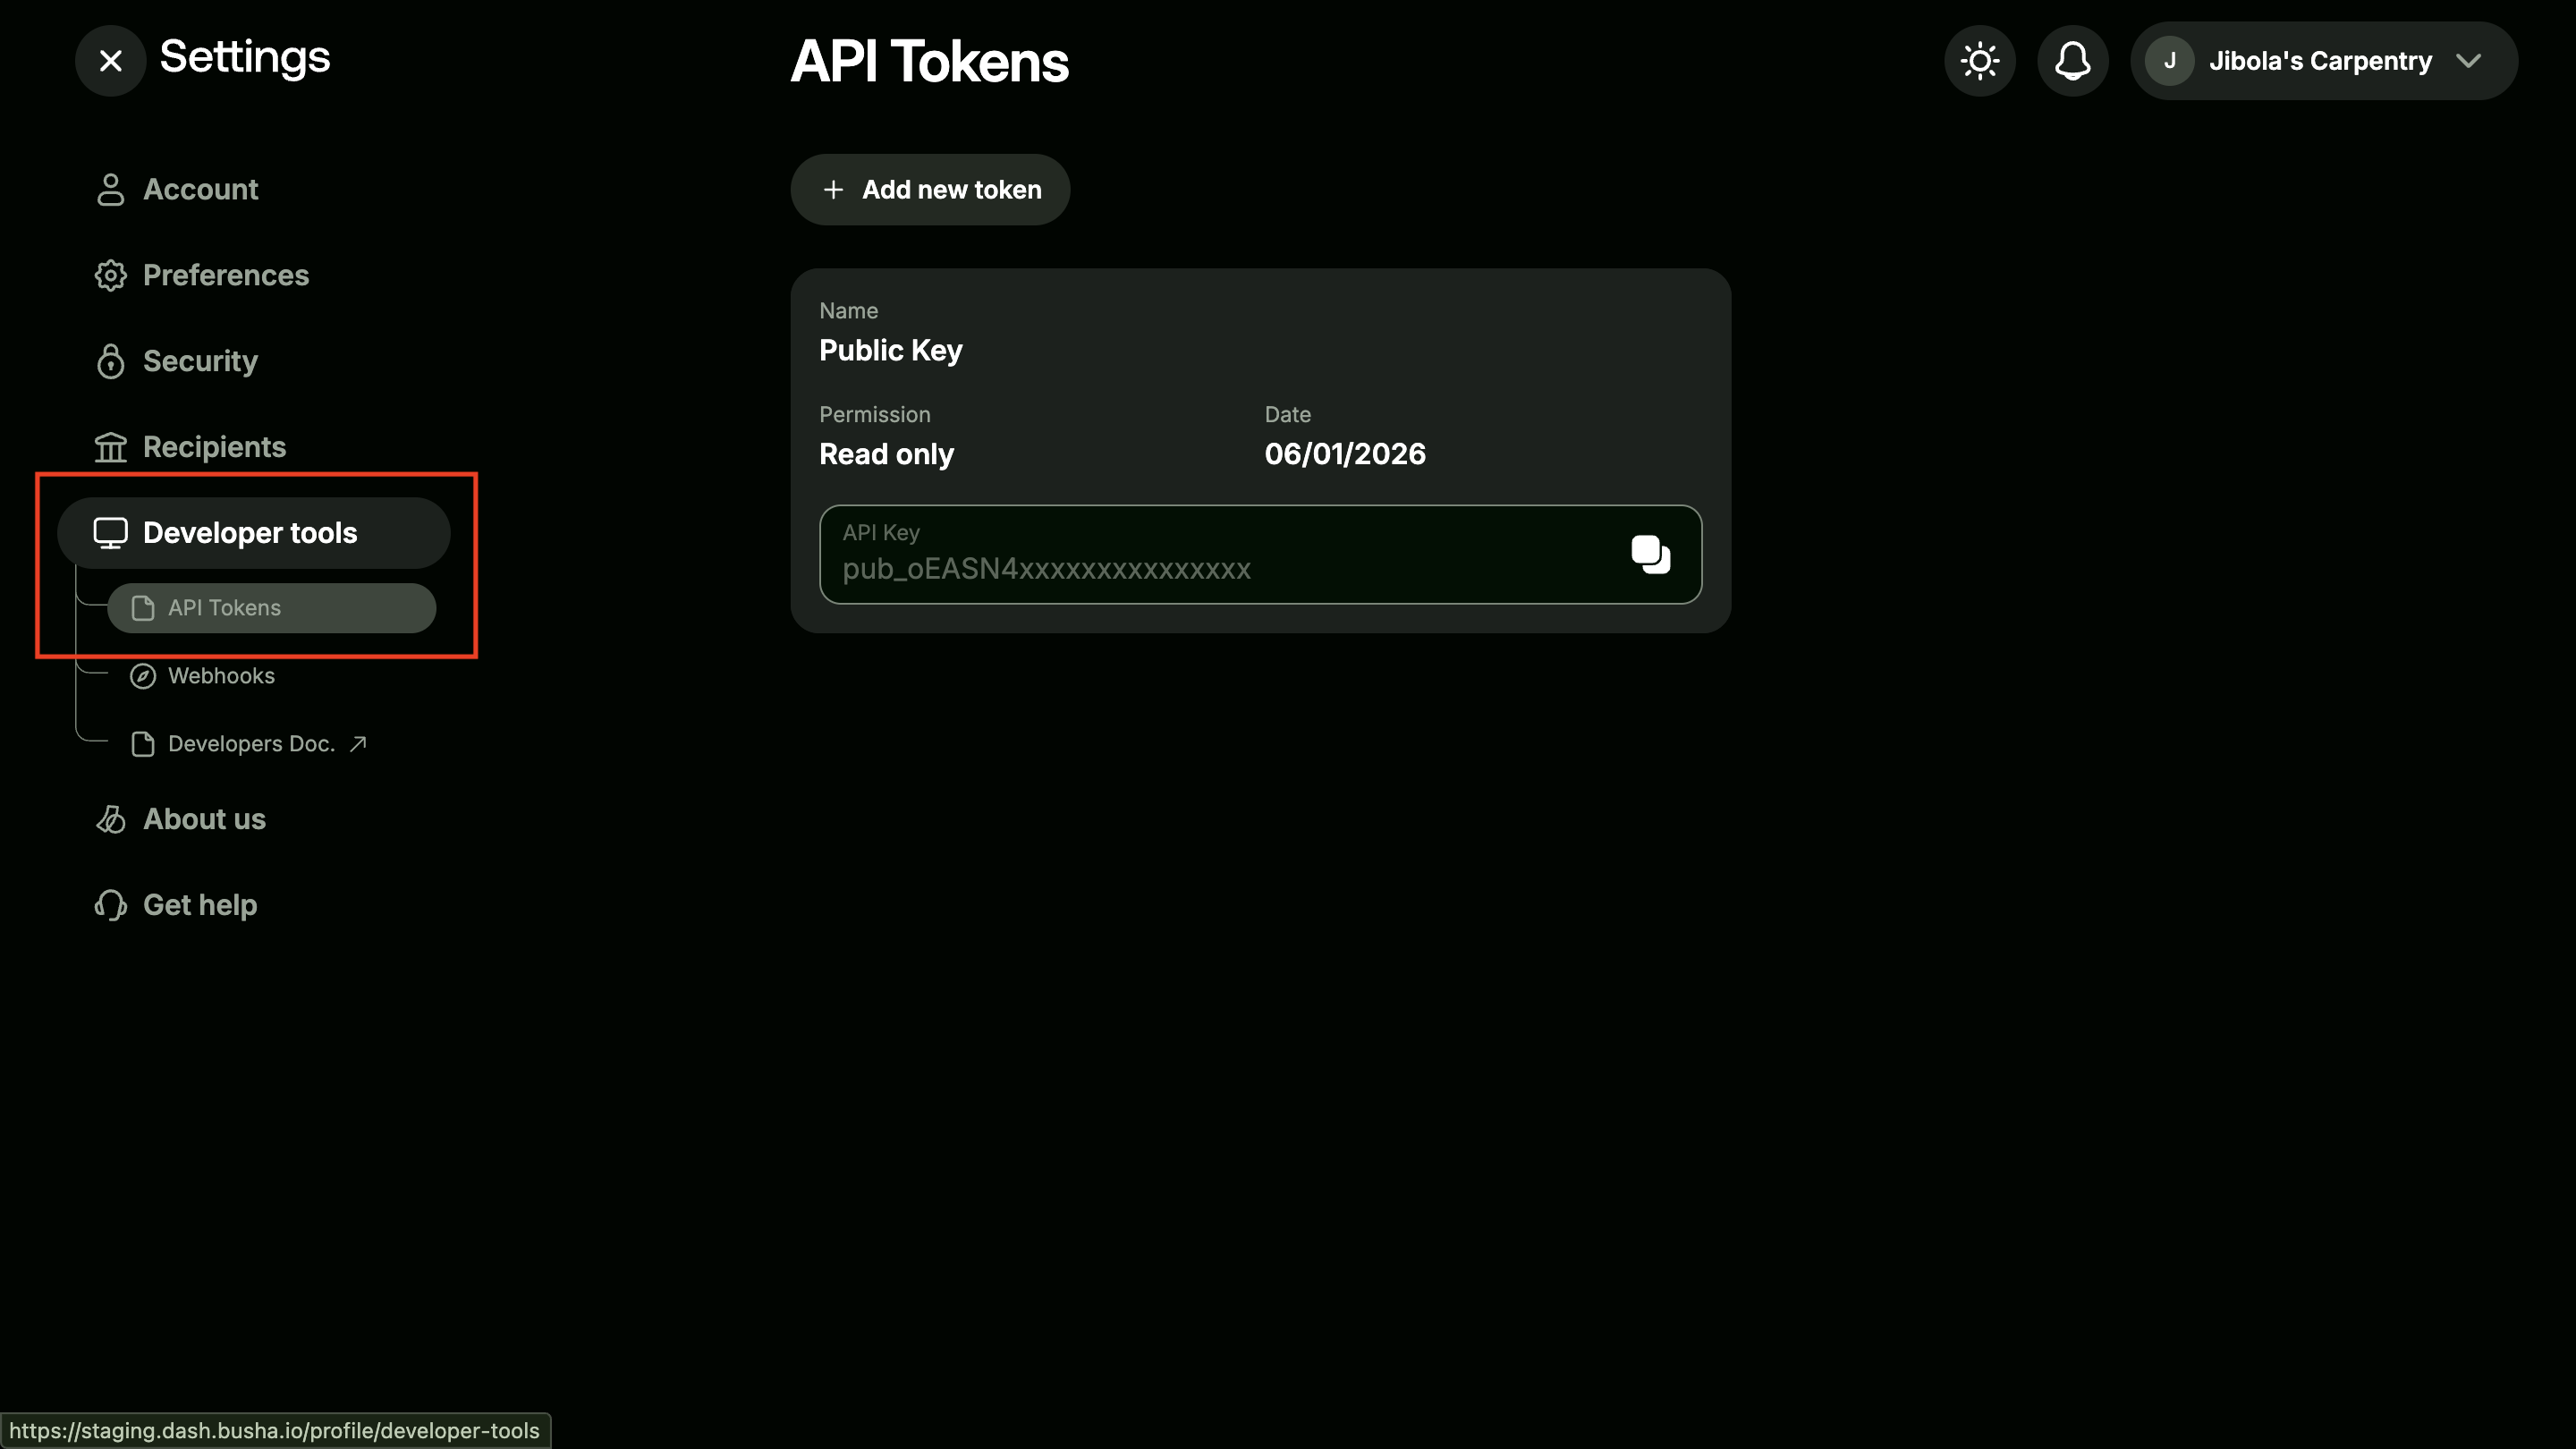
Developer tools in focus
-
Click on the “Add New Token”.
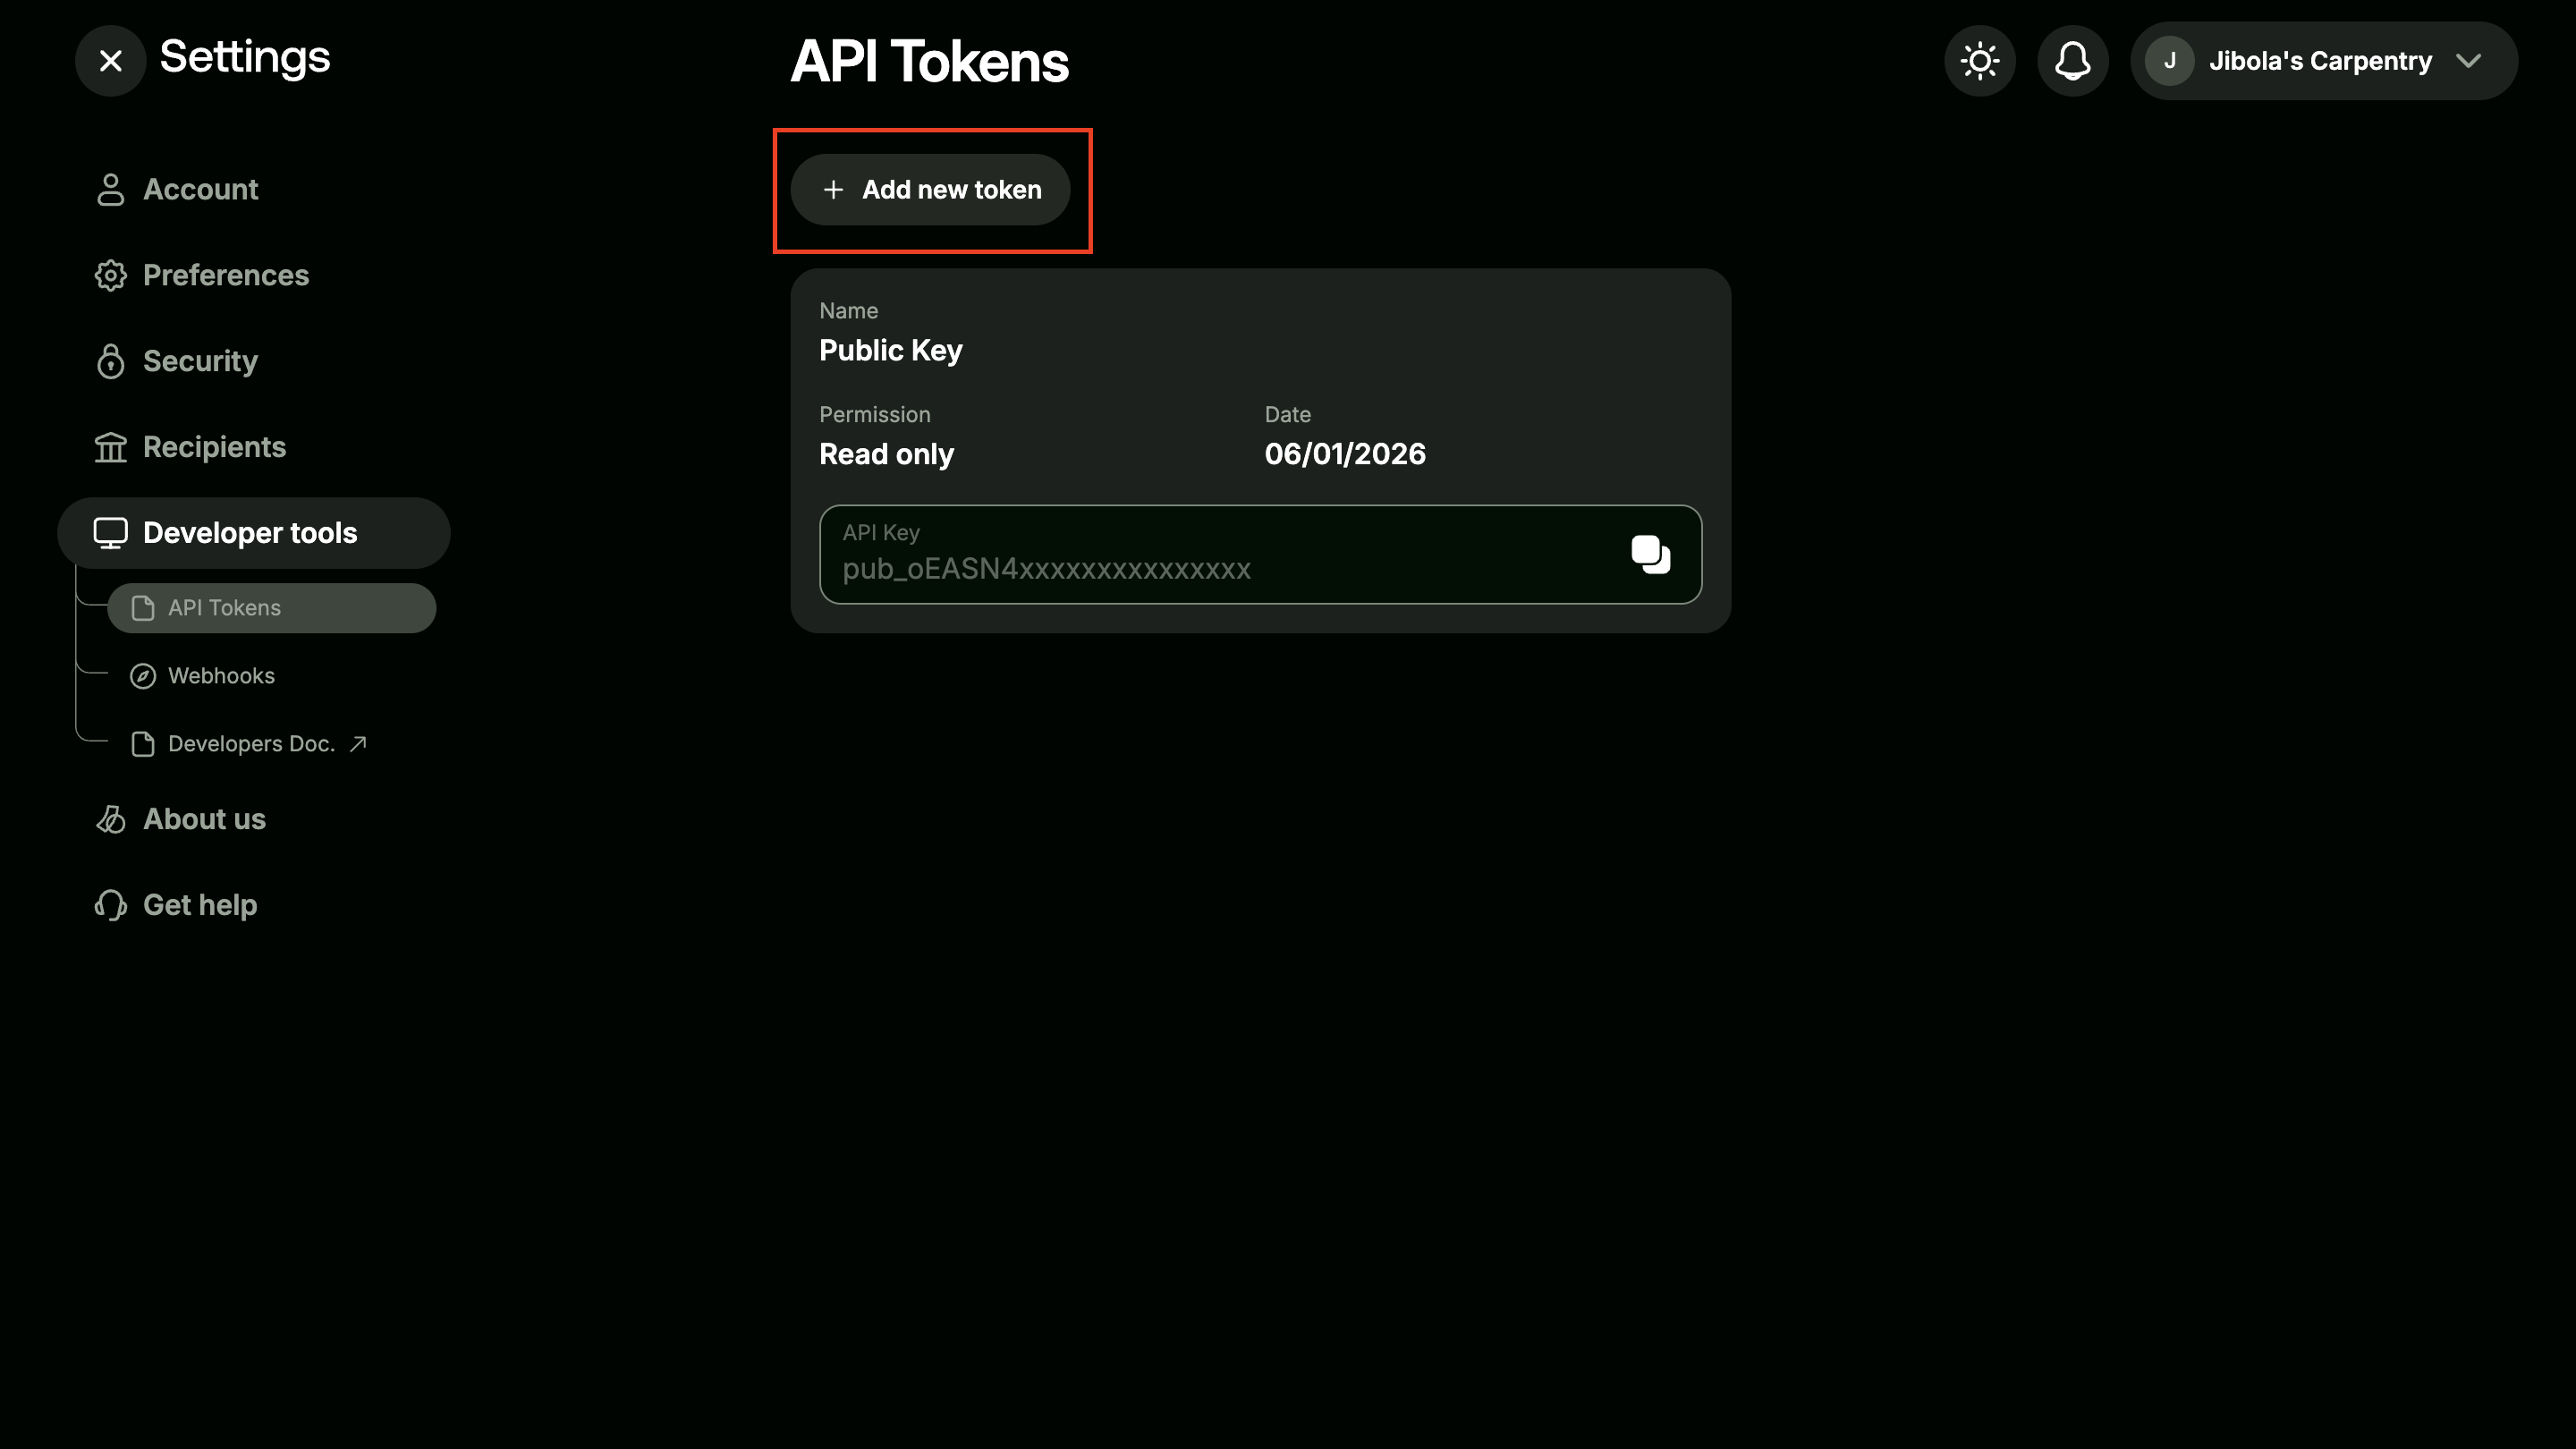
Developer tools with Add New Token in focus
-
Name your token and select the permissions for the token.
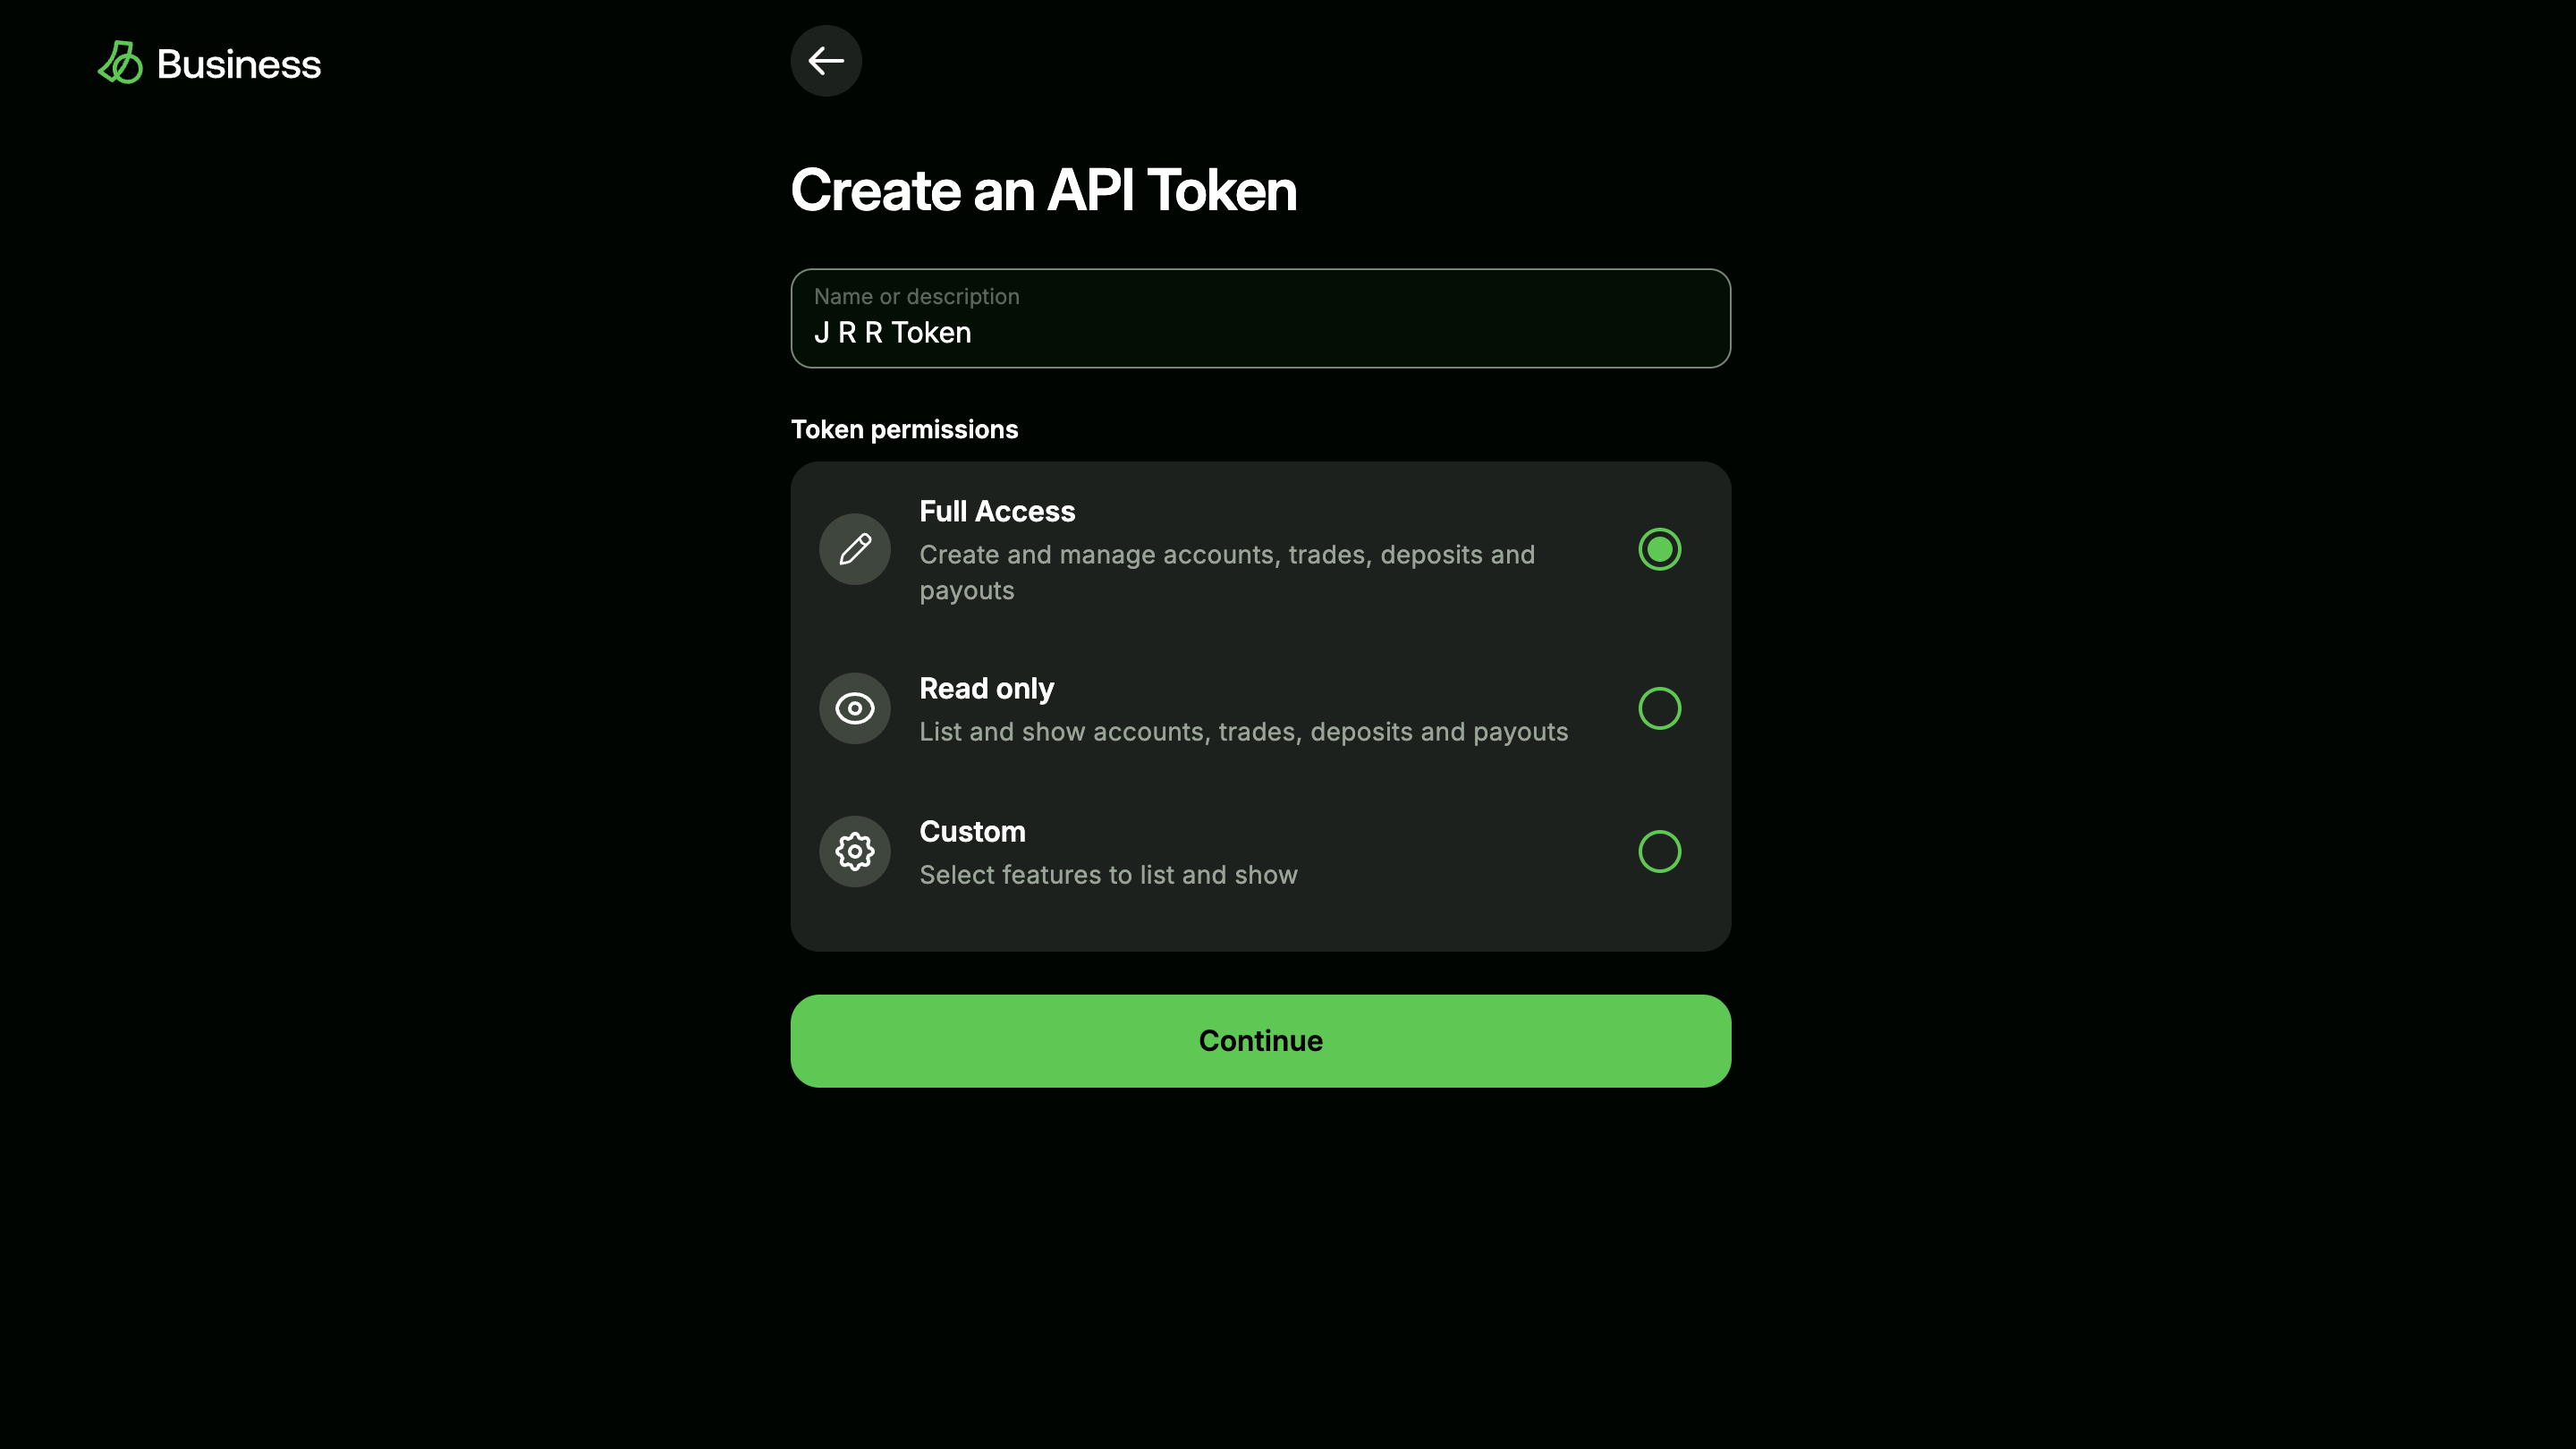
Create an API token page
-
Enter your 6-digit code from your 2FA application

Security authentication page for token generation
-
A pop-up window will appear, displaying your newly generated API key.
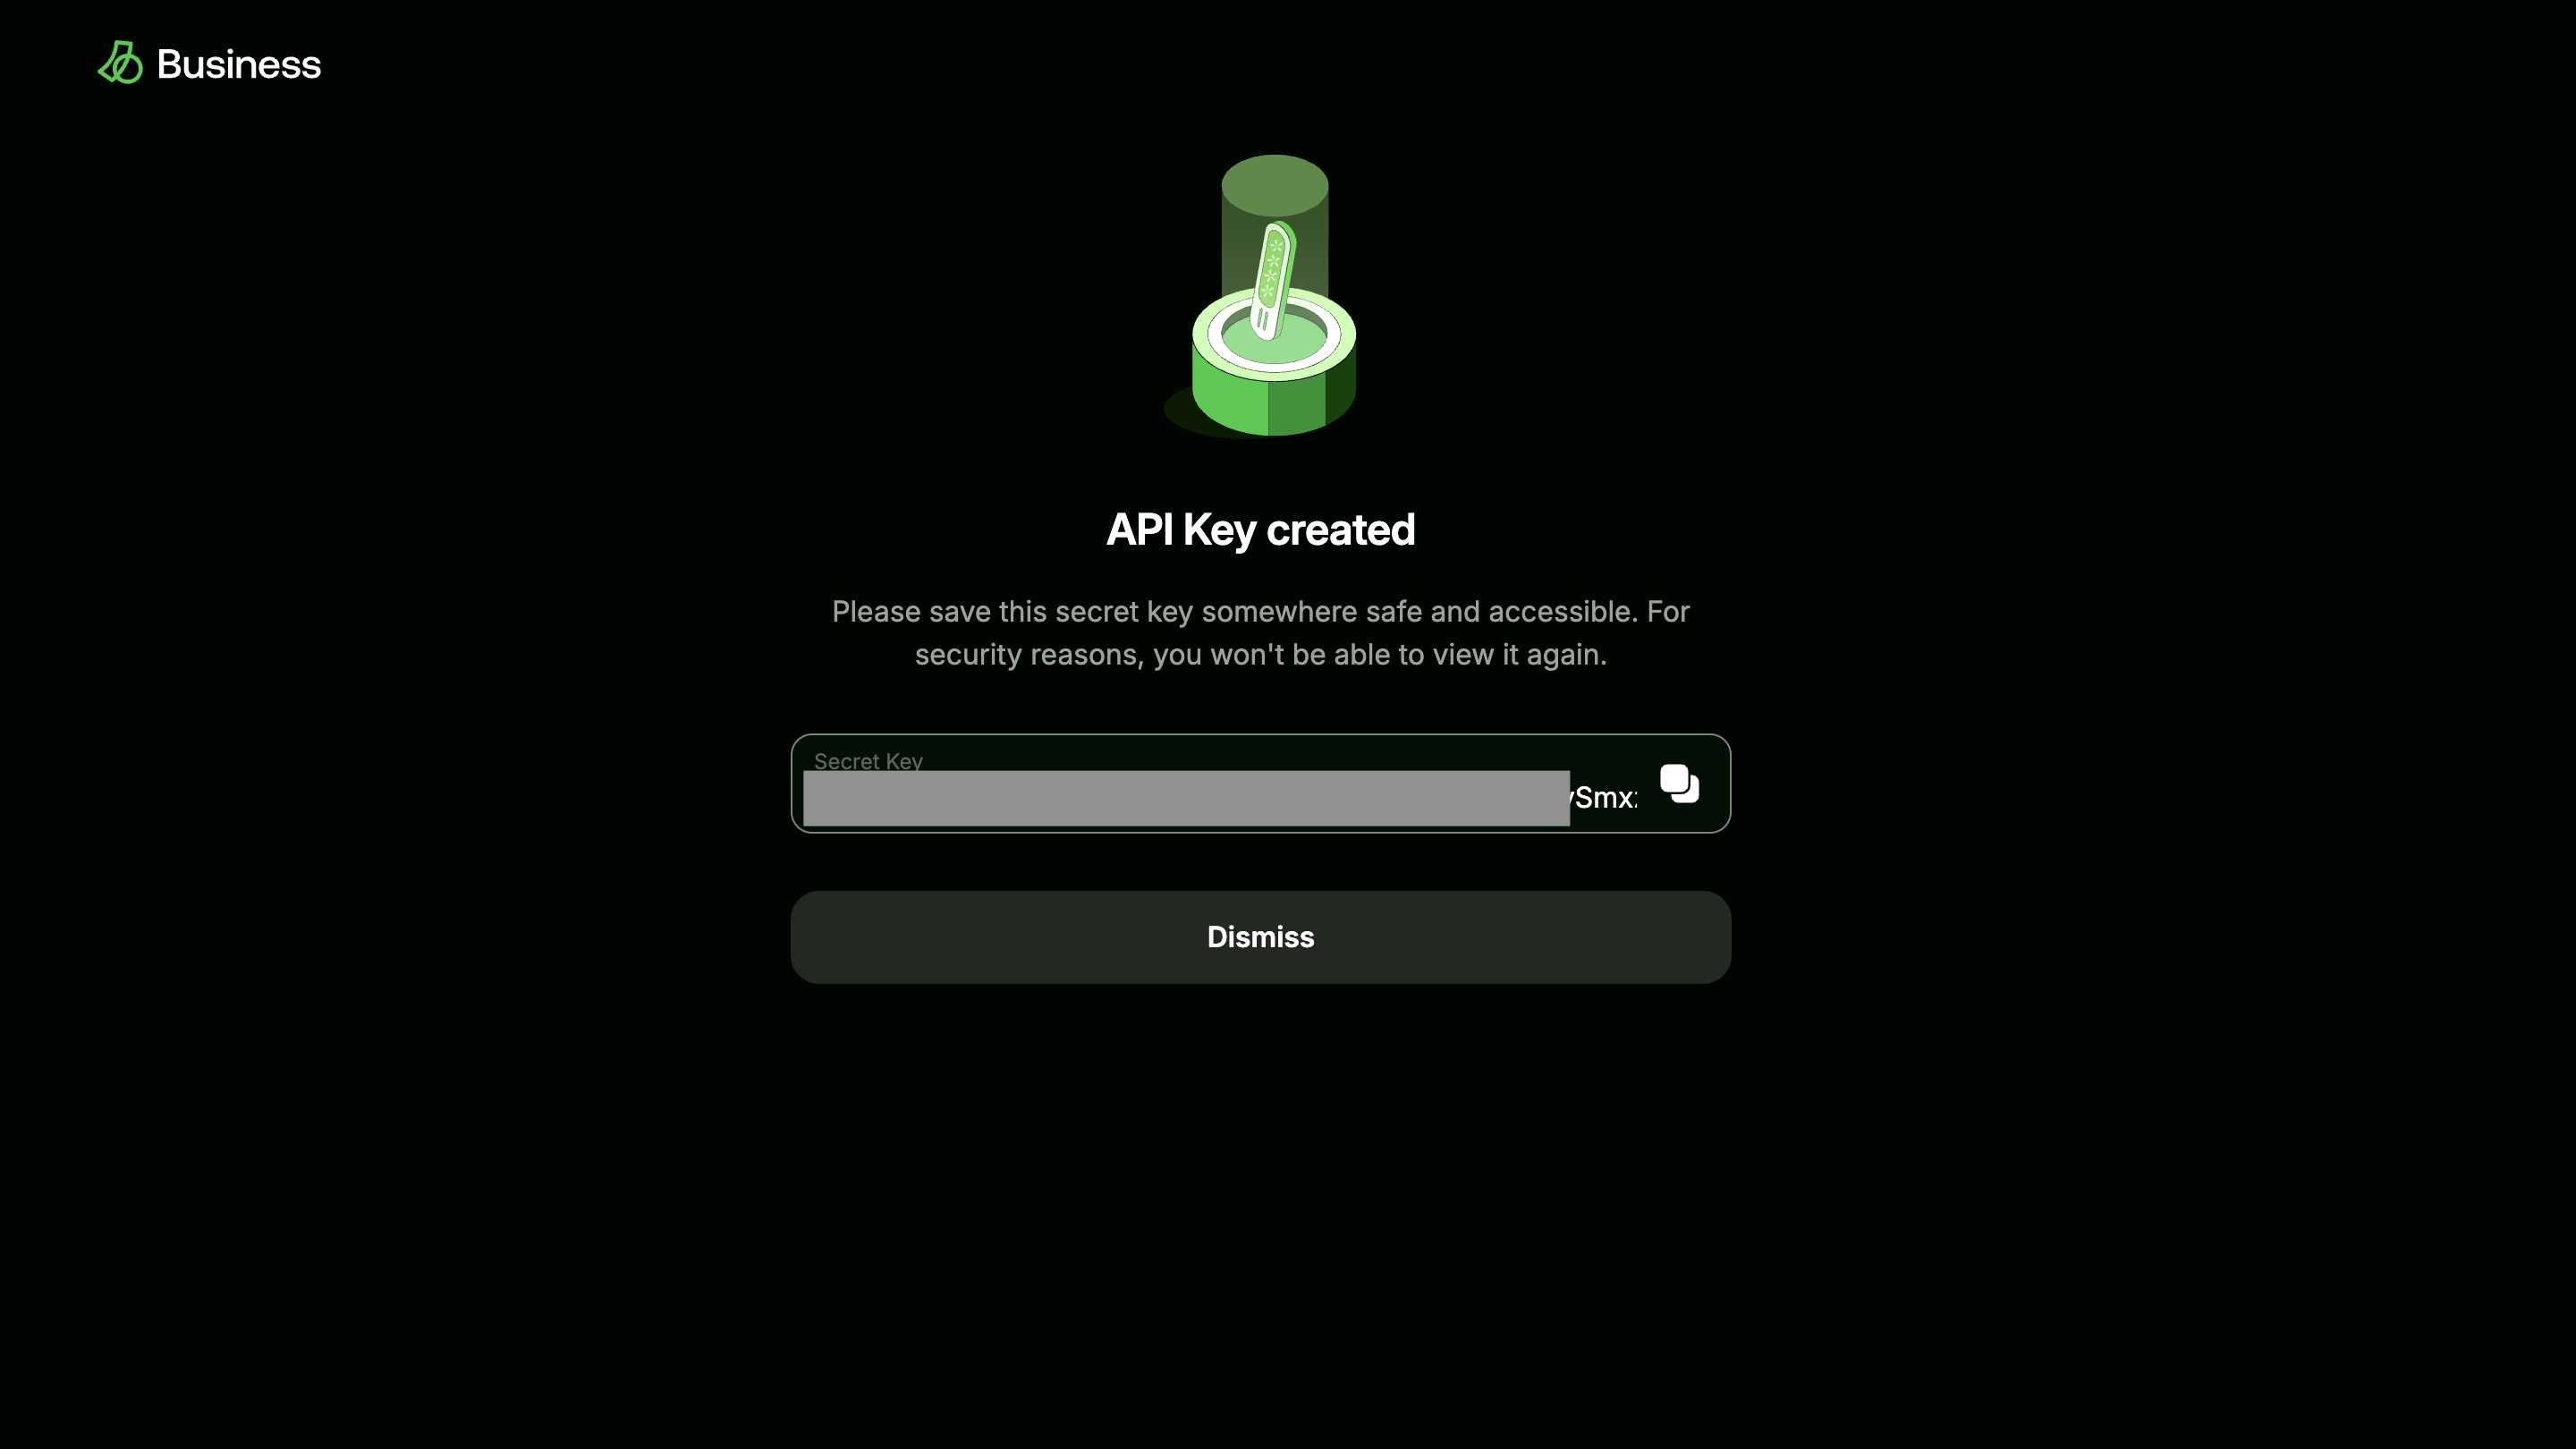
Details of the API key created
Attention!
- Immediately copy and securely store your API key. This key will only be displayed once for security reasons, but can be regenerated at will.
- Do NOT commit your API key to Git, or use it in client-side code.
Understanding Your API Keys
- Public Keys: These are safe to use in your front-end applications (e.g., directly from your website or mobile applications using Busha’s SDKs). They are designed to initiate transactions on your behalf and cannot modify your account.
- Secret Keys: These must be kept strictly confidential and never committed to version control (like Git) or used in client-side code. They grant full access to your account’s API functionalities. If you ever suspect that your secret key has been compromised, you can easily reset it from your dashboard